
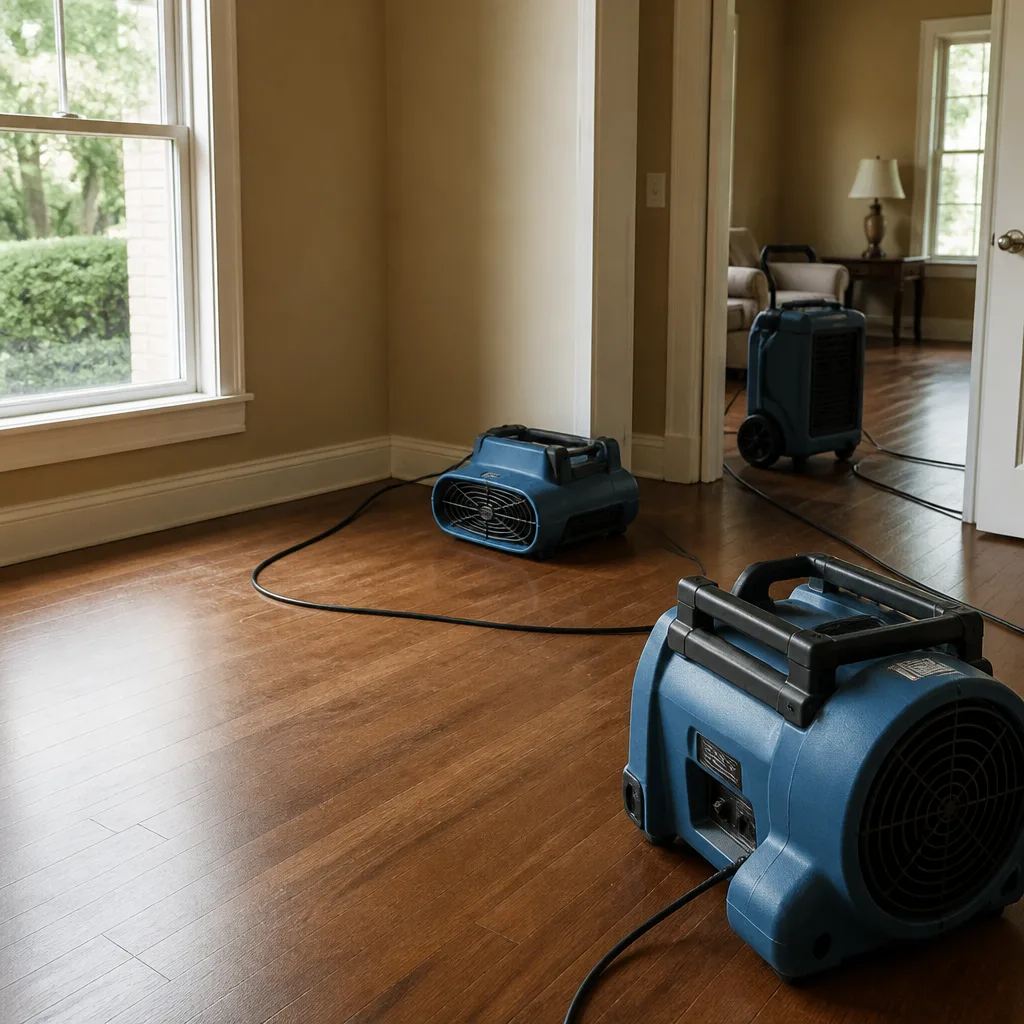
 Water damage drying
 Fire & smoke cleanup
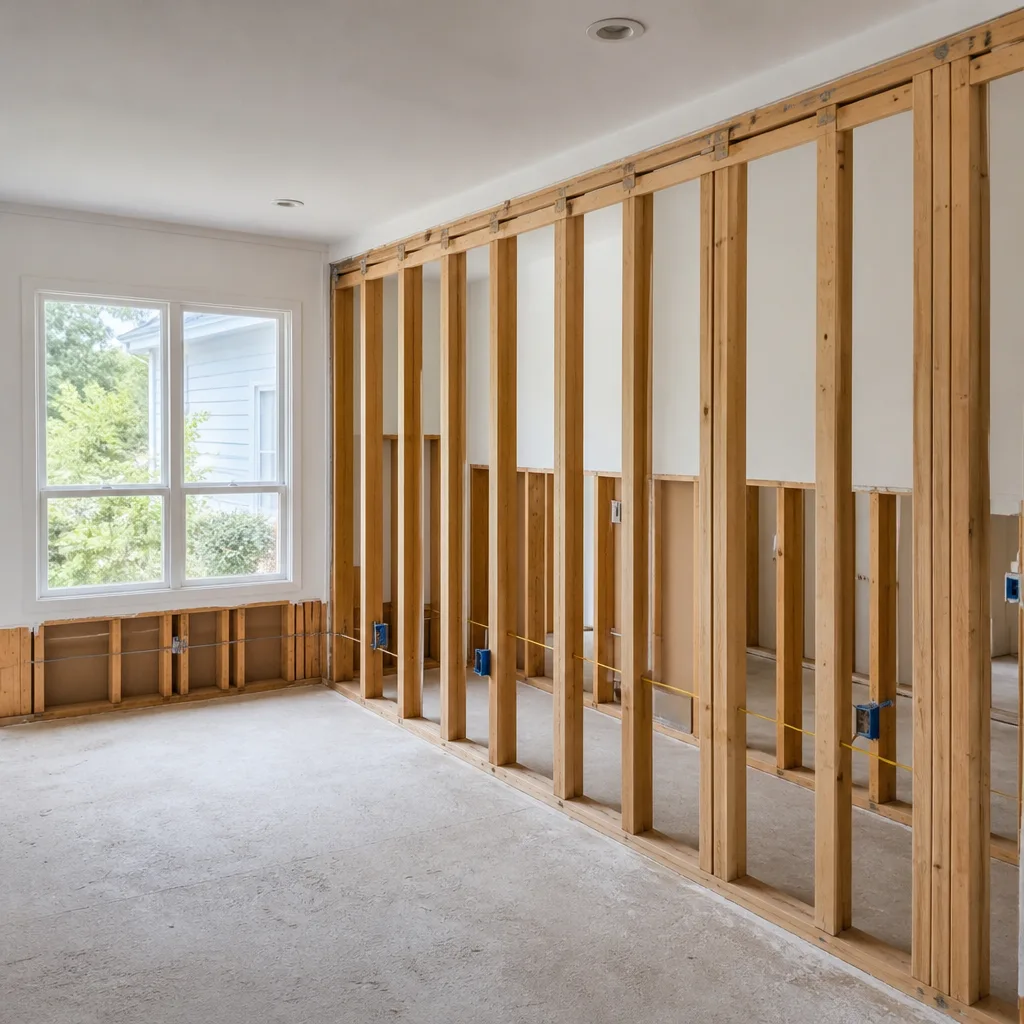 Mold remediation
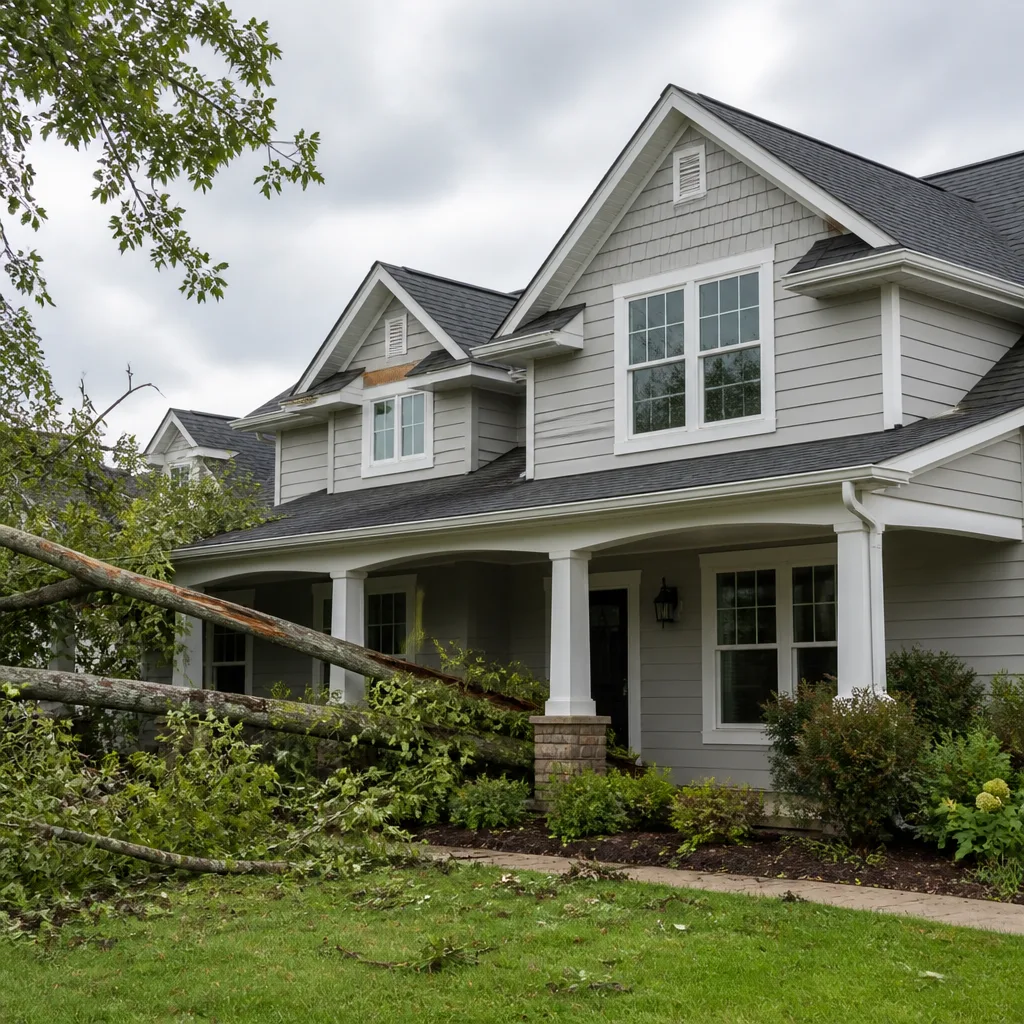 Storm response
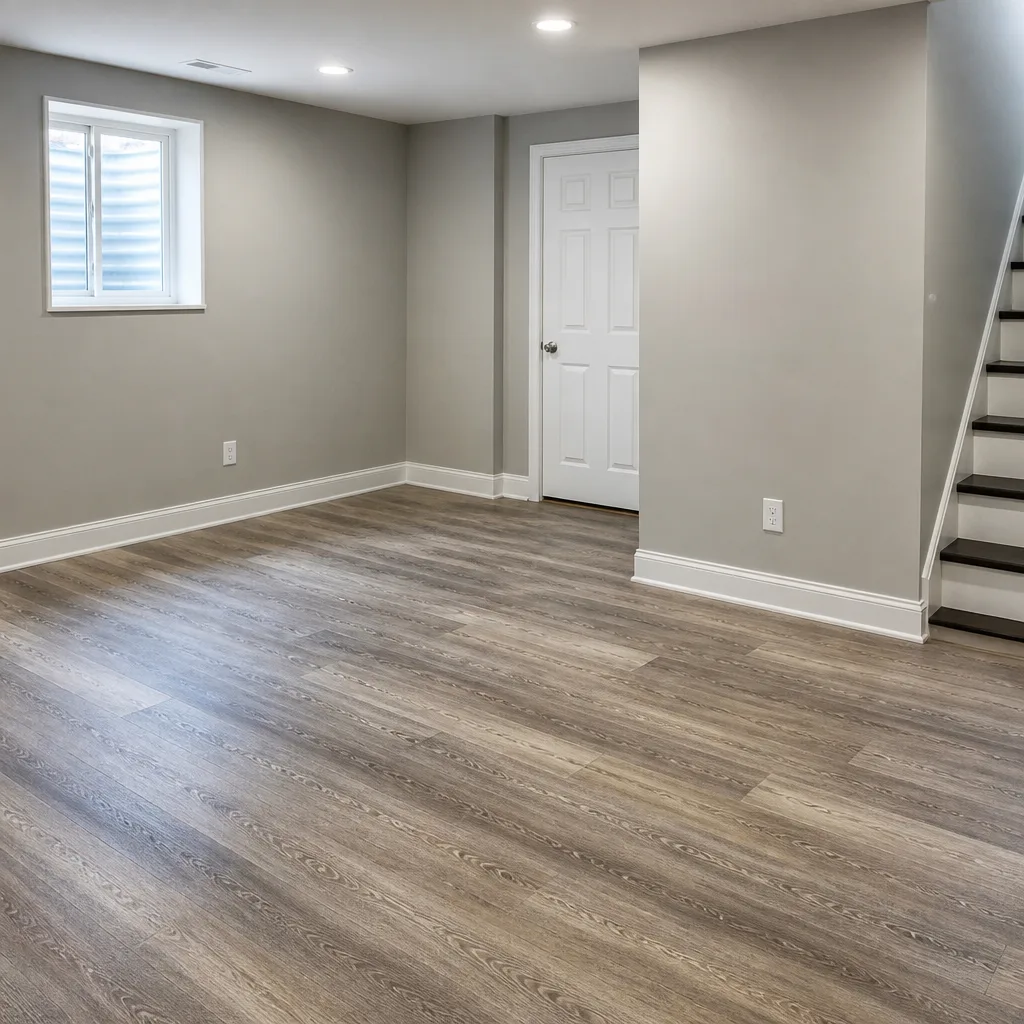 Sewage cleanup
 Reconstruction
Free visual inspection and a written scope of work before any mitigation begins - photos, moisture readings, and drying logs go in your claim file
The scope we write is the scope we bill. Anything new gets shown to you, in writing, before we touch it.
Get your free estimateDamage Restoration Before & After in San Francisco, CA
Photographs tell the truth faster than any promise we could print. A tide mark on a plaster wall, a charred ceiling joist, mold creeping behind baseboard in a Marina district flat. What you see below is the record we leave behind: the condition on arrival, and the condition when the crew packs up. No staging, no filters. Just the work.
Restoration work we handle
Recent Transformations
Kitchen Water Damage from a Failed Supply Line in Noe Valley
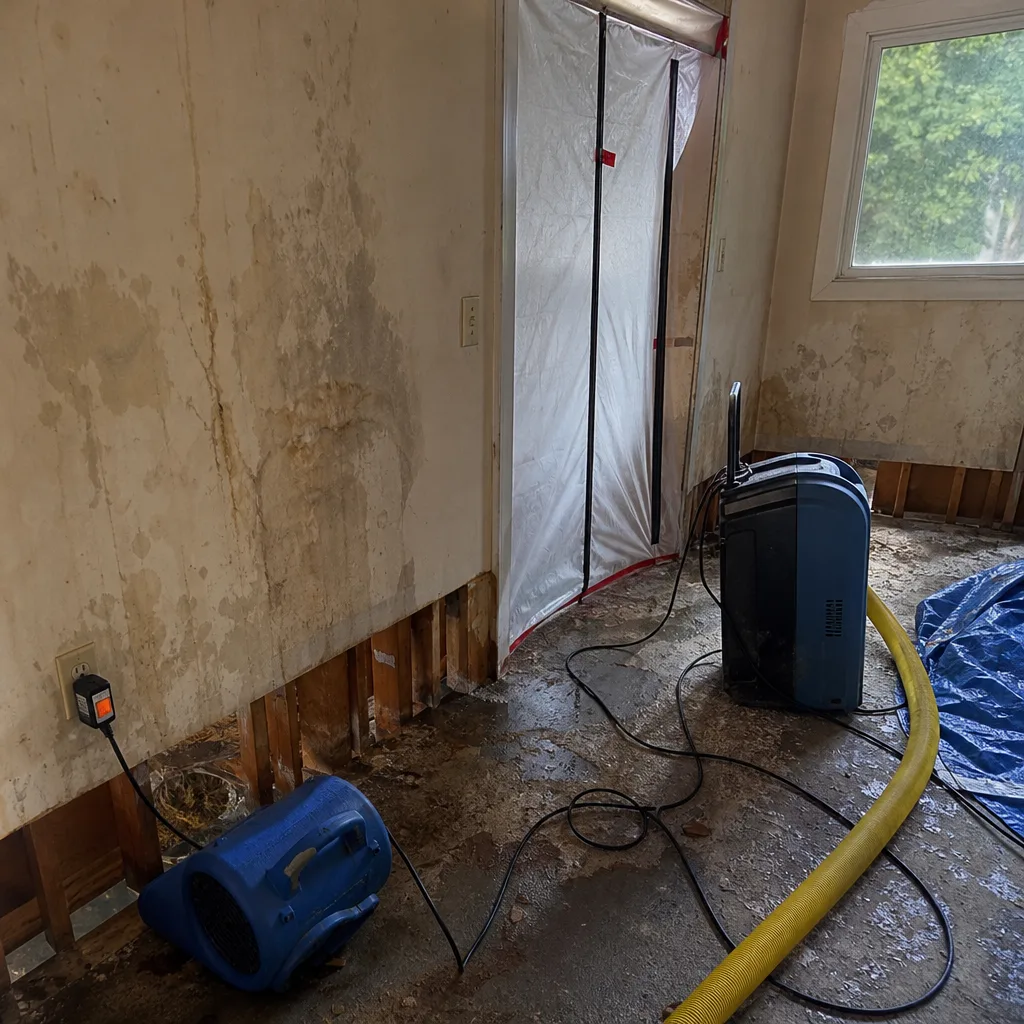 Before
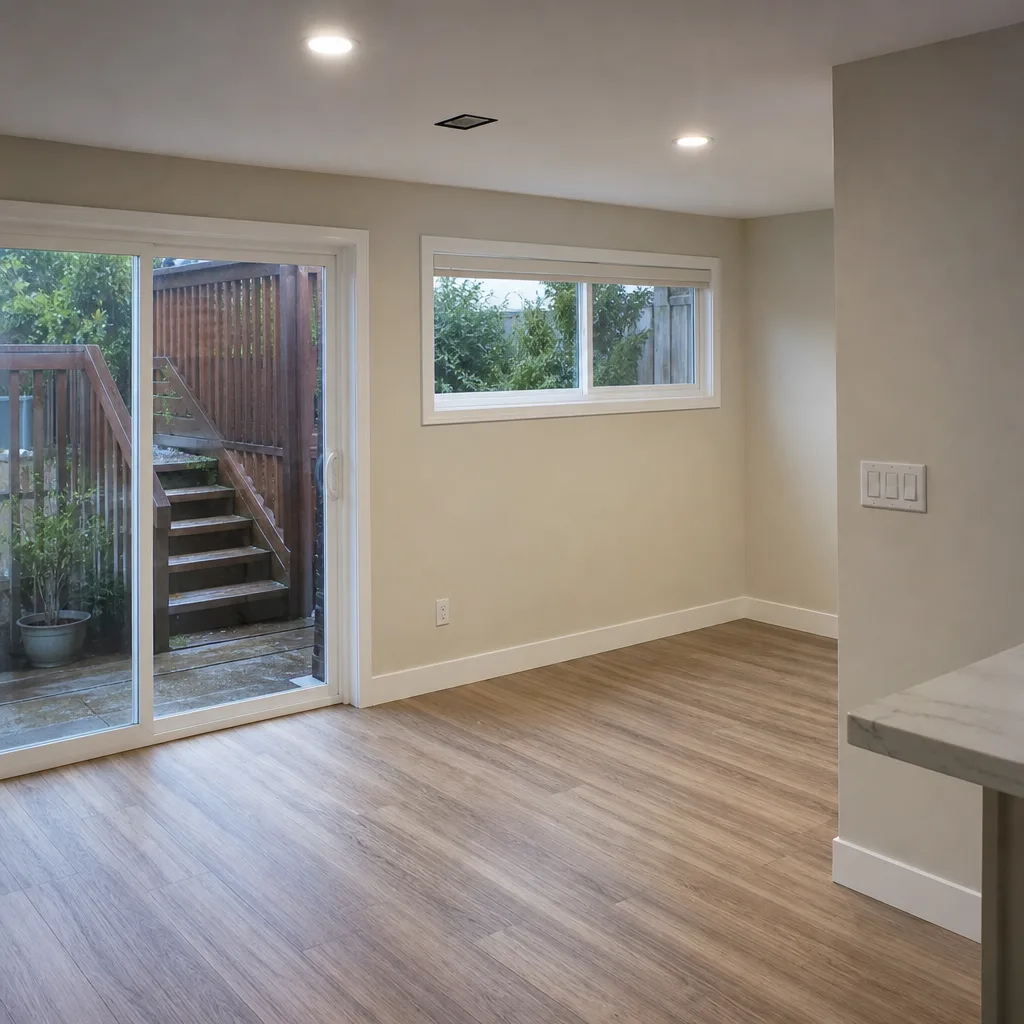 After
AfterA braided steel supply line under the kitchen sink failed overnight, and the water followed the joists into the dining room. Before footage shows oak flooring cupped and lifting, baseboard swollen, and the toe-kick under the cabinets saturated. We extracted standing water, pulled the affected flooring, and placed Phoenix axial fans and a Dri-Eaz dehumidifier for four days of drying. The result is a flat, stable floor and a moisture reading that matches the unaffected hallway. Rick Sumner walked the same floor before and after, and signed off on both.
Bathroom Ceiling Collapse from an Upstairs Shower Pan Leak in the Inner Sunset
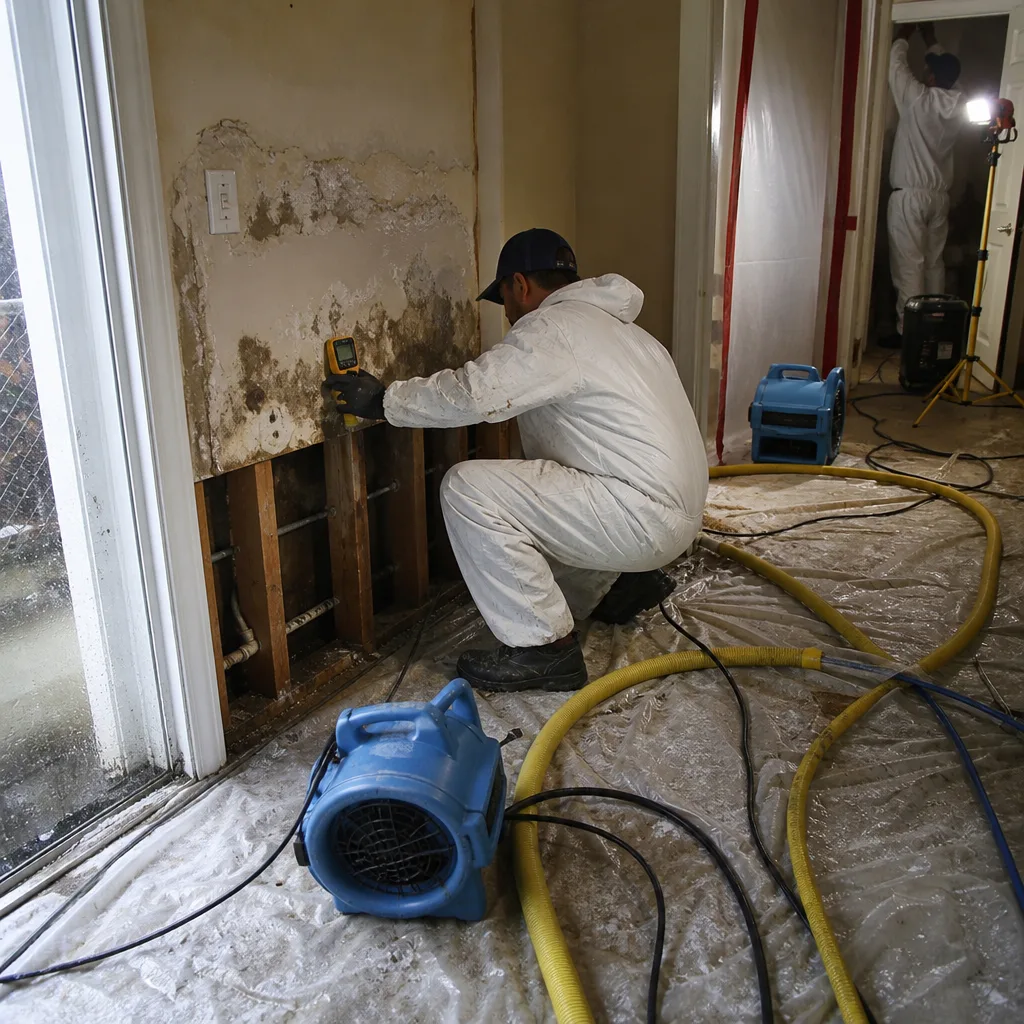 Before
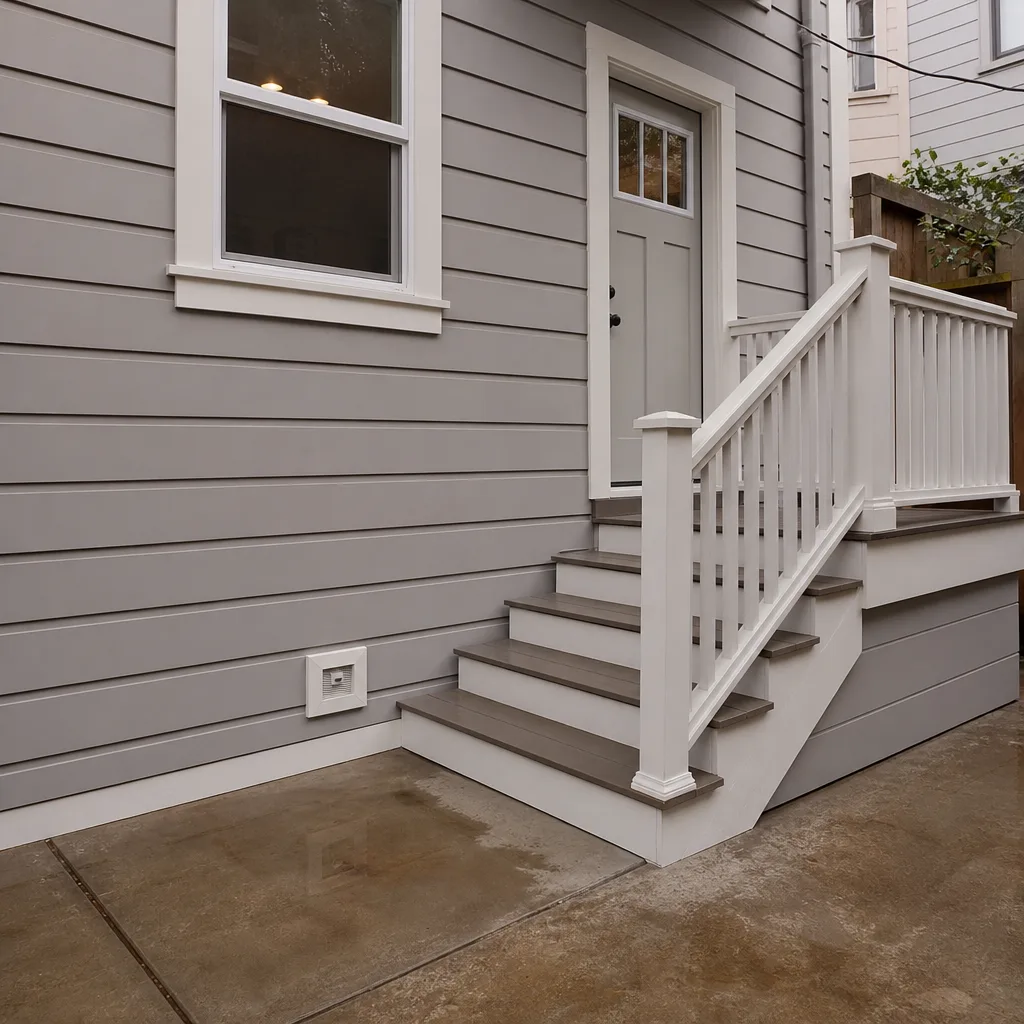 After
AfterThe shower pan on the floor above had been leaking for months, and the plaster ceiling finally let go at 2 a.m. The before photos show a bathtub full of wet plaster and lathe, insulation hanging down, and water still dripping from the trap above. We contained the bathroom, cut out the failed drywall, and dried the framing with an Injectidry system pulling air through the joist bays. Once the decking hit 9% moisture content, we rebuilt the ceiling, matched the skip-trowel texture, and primed and painted. The after photo looks like the collapse never happened, which is exactly the point.
Attic Mold Remediation After Roof Leak in the Richmond District
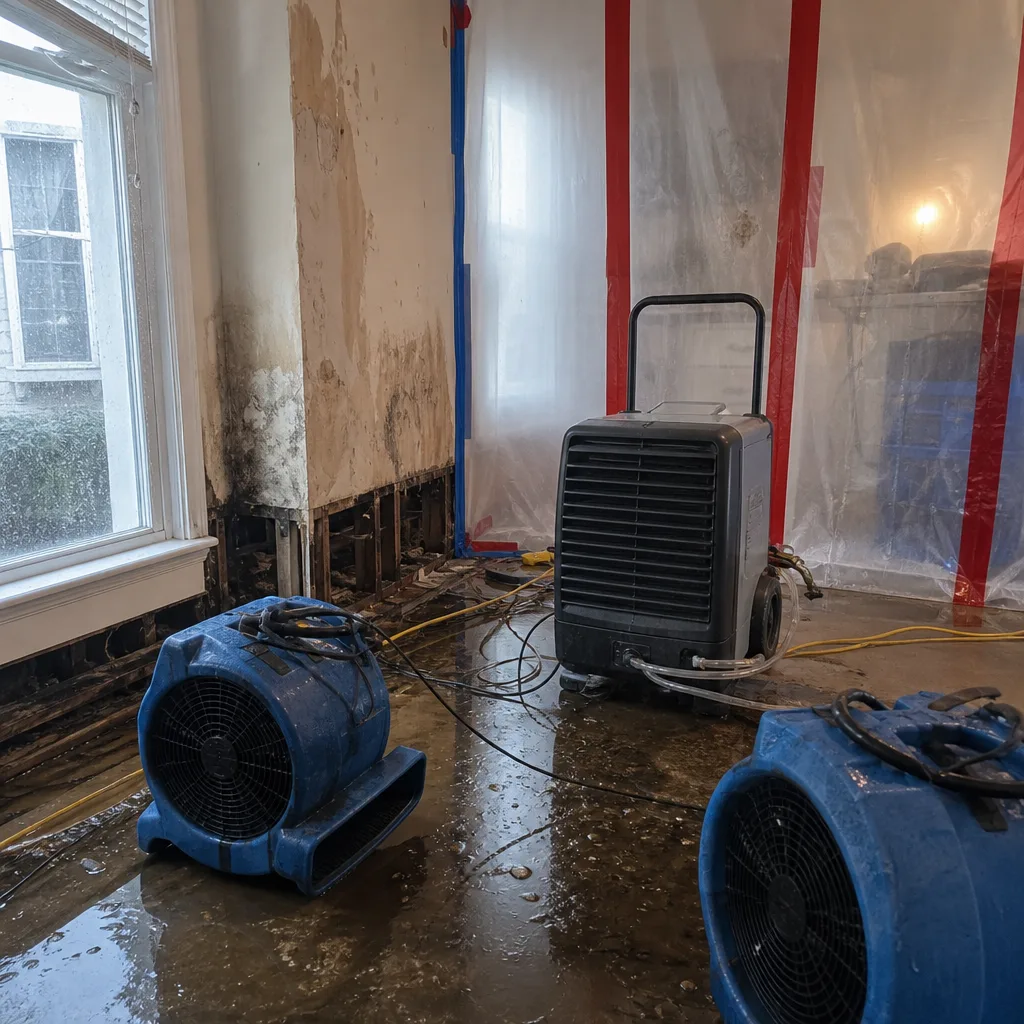 Before
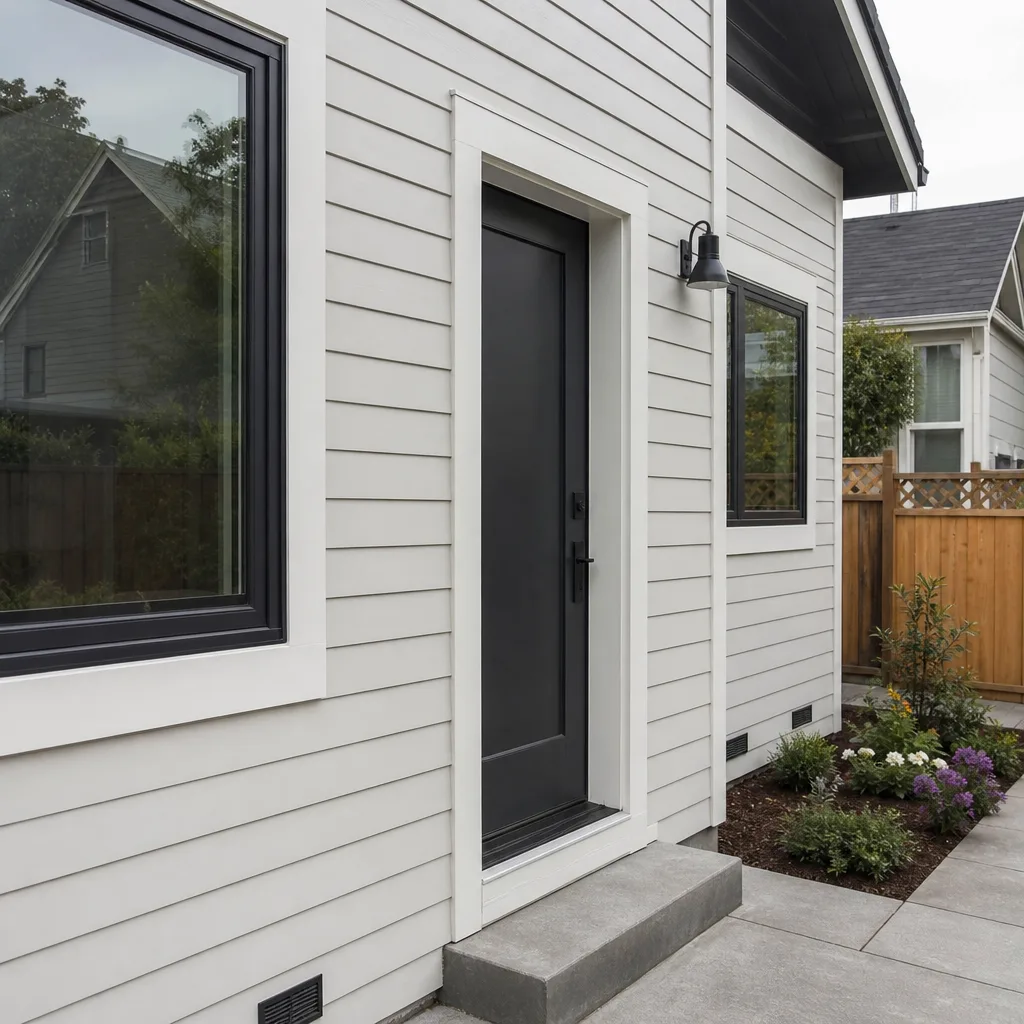 After
AfterFog and salt air in the Richmond keep attic sheathing damp long after a roof leak is repaired, and mold moves fast in that environment. The before photos show black staining across the north slope, concentrated where the decking stayed wet under a failed shingle course. We set containment, ran negative air, and removed the affected insulation. Then we HEPA-sanded the sheathing, applied an antimicrobial treatment, and replaced the insulation with new R-38 batts. Post-remediation air samples came back within normal ranges for a Bay Area attic. The homeowner had a written scope and a photo of the clean-up before the crew left.
Fire Damage Cleanup and Smoke Mitigation in a Mission District Apartment
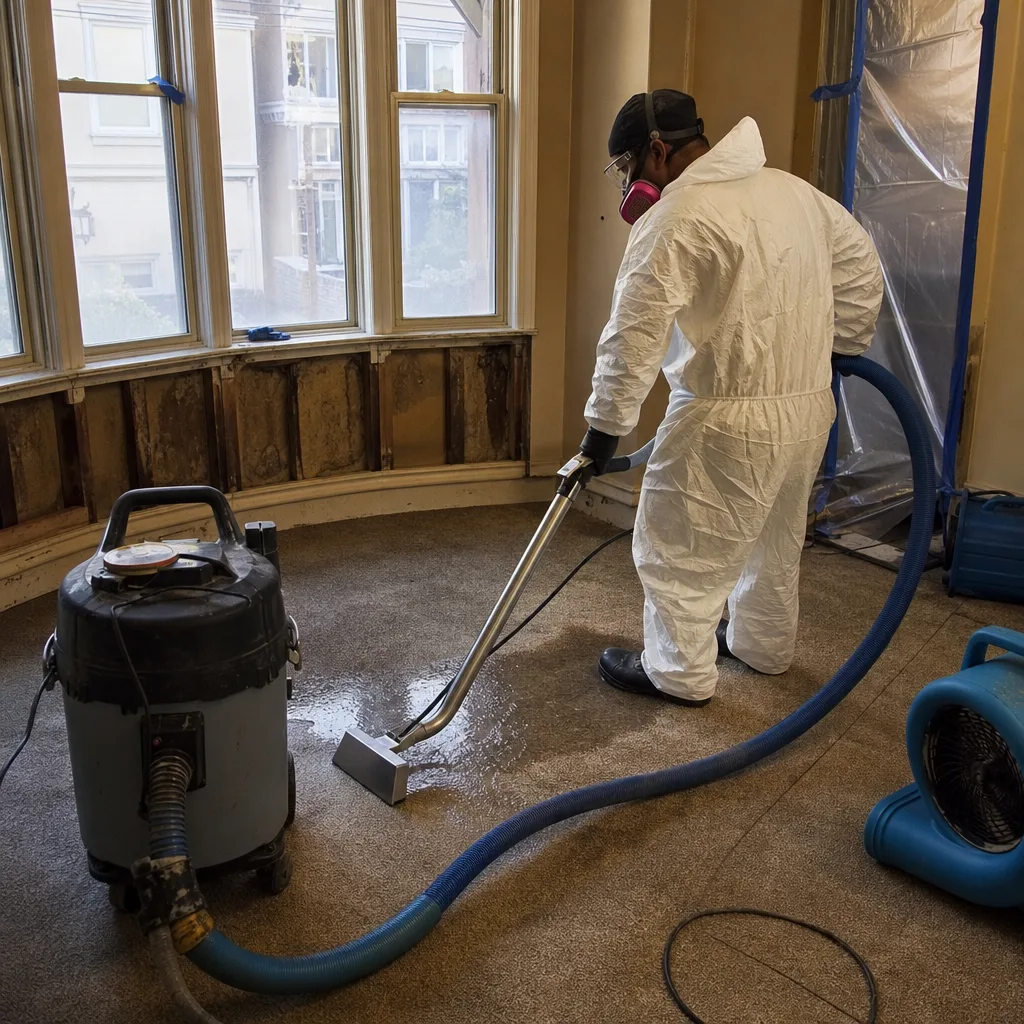
A grease fire in the kitchen covered the entire unit in a fine, oily soot that gets into everything, right down to the inside of the light fixtures. The before photos show black film on the range hood, yellowing on the ceiling, and soot settled into the grain of the hardwood floors. We cleaned every surface with the appropriate chemical sponge or wet-wipe method, ran thermal fogging to break down the smoke odor, and cleaned the ductwork. The after photos show the original paint color and a unit that does not smell like the night of the fire anymore.
Hardwood Floor Drying After a Water Heater Failure in Bernal Heights
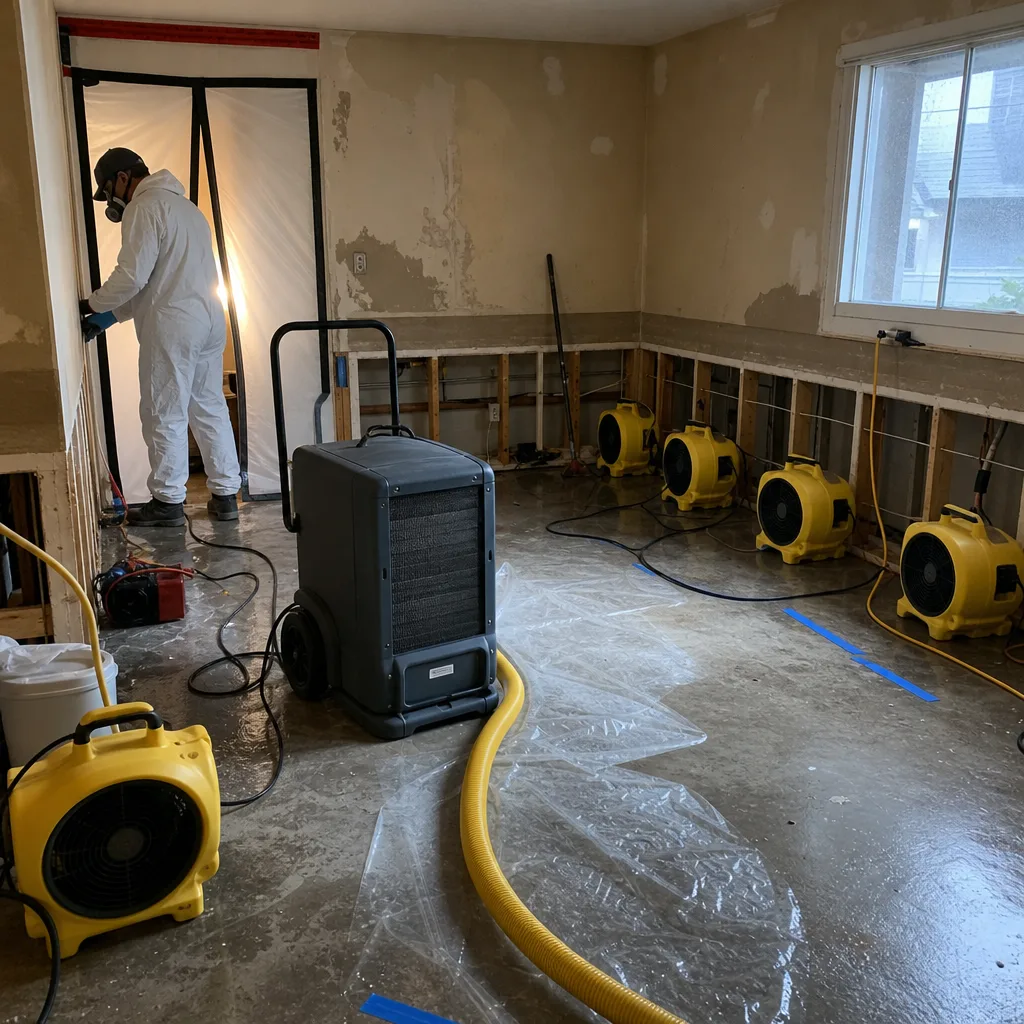
The water heater in the hall closet failed while the homeowner was at work, and by the time they got home the maple flooring had already started cupping. Before photos show a visible ridge along every plank seam and water beading along the baseboard. We placed a drying mat system over the affected area and pulled low-grain moisture steadily for six days, monitoring daily. The floor dried flat, with no delamination, and a single refinish pass blended the hallway with the surrounding rooms. This is the part most contractors skip, and it is also the part that comes back to haunt you.
Sewage Backup Cleanup in a Finished Basement in the Sunset District
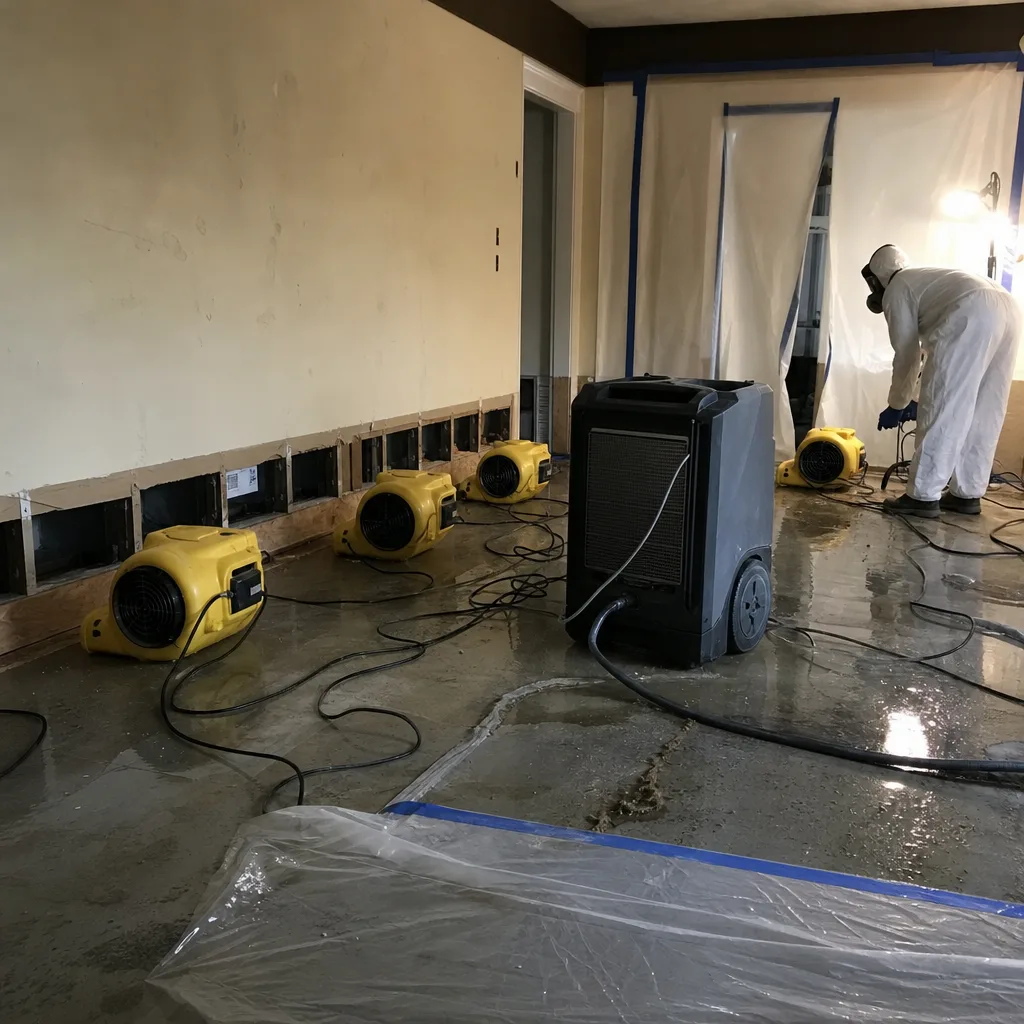
A city main backup pushed sewage up through a basement floor drain, and the finished den took the worst of it. The before photos show affected carpet, pad, and drywall wicking moisture up to 18 inches in places. We extracted the category 3 water, removed the carpet and the affected drywall, and disposed of everything according to sanitation protocols. Then we dried the concrete slab, treated the stud cavities, and ran clearance testing before the rebuild. The after photos show a clean, dry, ready-to-finish space, and the homeowner got a photo of the clean-up before the crew loaded the trucks.
Want Results Like These?
If you are looking at a tide mark on your wall right now, call us. We will talk through what we see, give you a written price before any work starts, and send a uniformed crew in shoe covers and drop cloths. Every job ends with a photo of the clean-up, and every job is backed by our 365-Day Done Right Promise. Call (831) 400-3496, day or night.
Written by Rick Sumner, Owner at Tidemark Water Damage San Francisco, independently owned and operated to the Cedarwell Care Promise.
See the difference
BeforeAfterBeforeAfterBeforeAfter