
Last updated October 16, 2026
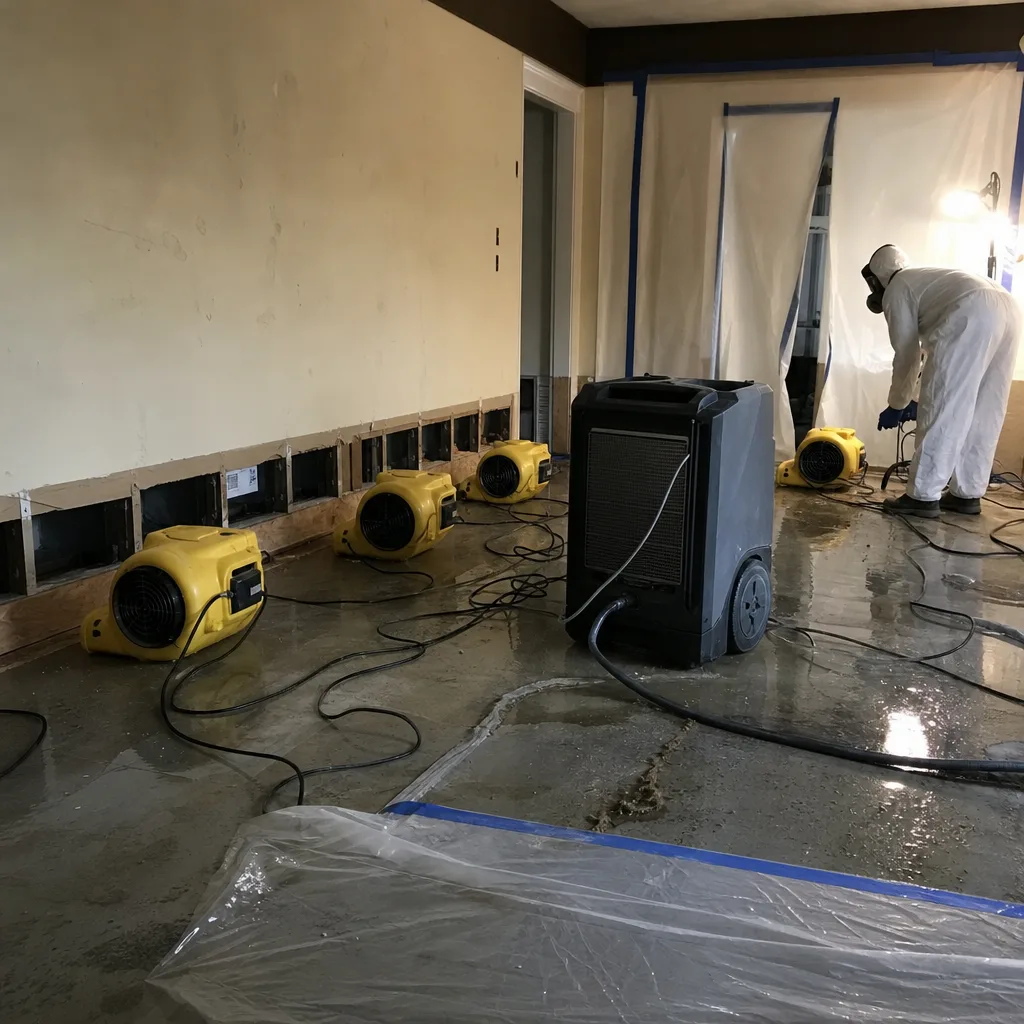
 Water damage drying
 Fire & smoke cleanup
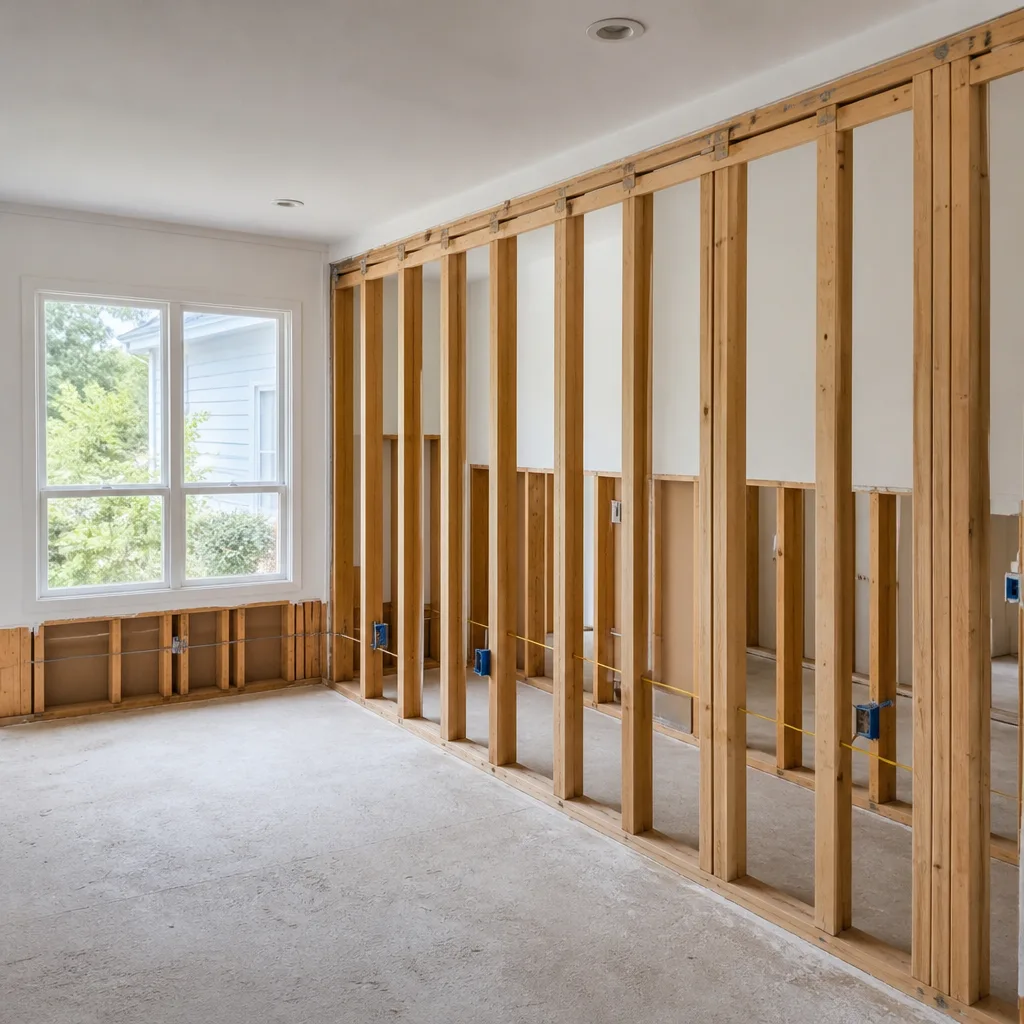 Mold remediation
 Storm response
 Sewage cleanup
 Reconstruction
Free visual inspection and a written scope of work before any mitigation begins - photos, moisture readings, and drying logs go in your claim file
The scope we write is the scope we bill. Anything new gets shown to you, in writing, before we touch it.
Get your free estimateDamage Restoration Warning Signs: A San Francisco Homeowner’s Reference Guide
San Francisco homes hide water damage better than almost any housing stock in the country. Old-growth redwood floorboards, horsehair plaster walls, and thick ceramic tile can absorb and mask moisture for months before a single visible sign appears, and by the time you notice the first stain or smell, the damage has usually moved from a contained leak into something that involves subfloor, framing, or both. This reference guide walks you through the secondary signals those materials send before the obvious ones show up, and it teaches you how to read your house the way a restoration technician does: from the crawl space up, not from the ceiling down. For seasonal damage restoration care for San Francisco, check our year-round homeowner’s guide.
Quick Answer
The most reliable water damage warning signs in San Francisco homes are subtle: nail pops appearing on plaster walls weeks after the last repaint, door frames that suddenly stick in summer when they never did before, efflorescence (white mineral powder) blooming on brick foundation piers, and a musty smell that seems to move around the room depending on the day. Any one of these signals means water is traveling somewhere it should not be, and because San Francisco’s building materials hide moisture so well, a professional assessment with a moisture meter is the only way to know how far it has actually spread. Tidemark Water Damage San Francisco home assessments are free, and they come with a written report you keep even if you decide to handle the repair yourself.
Restoration work we handle
Table of Contents
- Why San Francisco Homes Hide Water Damage Better Than Anywhere Else
- The Secondary Signals: 7 Warning Signs Most Homeowners Miss
- Bay Window Cracks: Settling vs. Water Intrusion
- The Smell Map: Where Mold Odor Actually Comes From
- How to Photograph Warning Signs for an Insurance Claim
- Same-Day Assessment vs. Scheduled Appointment: Which Is Which
- Common Mistakes to Avoid
- When to Call a Professional
- Frequently Asked Questions
Why San Francisco Homes Hide Water Damage Better Than Anywhere Else
A soft spot in a Victorian’s hardwood floor that gives slightly underfoot is rarely a floor problem. It is a subfloor problem that likely began 60 to 90 days earlier, which means the damage you can see today is not the damage you actually pay to fix. San Francisco’s original building materials are spectacular at absorbing water and terrible at telling you about it.
Old-growth redwood, used for floorboards and framing in most pre-1940 San Francisco homes, has tight grain and natural rot resistance. That means it soaks up moisture slowly, dries slowly, and shows darkening only after saturation has already begun to affect the wood beneath. Horsehair plaster, used on interior walls well into the 1920s, wicks water laterally instead of showing a localized stain the way modern drywall does. A leak in a bathroom wall can travel along plaster keys and lath strips for feet before the first paint blister appears.
Even San Francisco’s tile work works against you. Traditional mud-set ceramic tile, installed over a thick mortar bed rather than cement board, holds water in the mortar layer while the tile surface stays cool and dry to the touch. Homeowners with original 1930s bathrooms in the Sunset or Richmond often discover rotted subfloor only when a tile cracks underfoot, and by then the mortar bed underneath has been saturated for months.
The lesson is not that San Francisco homes are fragile. They are not. The lesson is that visible damage in an SF house is late-stage damage, and the only way to catch problems at the early stage is to read the secondary signals your house sends before the primary ones show up.
The Secondary Signals: 7 Warning Signs Most Homeowners Miss
These are the signals we look for when we walk into a San Francisco home for a water damage assessment. None of them requires professional equipment to notice. All of them mean water is present somewhere it should not be.
- Nail pops on plaster walls. When moisture gets behind horsehair plaster, the lath strips behind it swell and push the plaster outward, which forces the old iron nails to back out of the studs. A single nail pop after an earthquake is normal. Three or more appearing in the same wall within a few months is a moisture signal. In our experience across the Noe Valley and Glen Park neighborhoods, this is the warning sign homeowners most often dismiss as normal settling.
- Sticking doors in balloon-frame Victorians. Balloon framing, common in San Francisco Victorians and Edwardians, runs wall studs continuously from foundation to roofline. When one section of the frame absorbs moisture, the entire wall can shift slightly, which changes the Reveal (the gap between door and jamb) in doors two floors above the water source. A door that sticks in June but swung fine in December is telling you something about the framing, not the door itself.
- Efflorescence on brick foundation piers. That white, powdery mineral deposit on your crawl space brickwork is not just an aesthetic issue. Efflorescence means water is moving through the masonry and evaporating on the surface, leaving dissolved salts behind. Fresh, fluffy deposits indicate active flow. Old, hardened deposits mean it happened in the past. A mix of both means the problem is ongoing and worsening.
- Rust staining on cast-iron drain cleanouts. If your home has original cast-iron plumbing (built before the 1960s), check the cleanout caps in your basement or the base of your main stack. Rust staining around the threads means moisture is wicking through a failing seal. Water follows the outside of the pipe then, not the inside, and it can drip into wall cavities for years without a single visible leak inside the living space.
- Cool-to-the-touch floor patches in winter. Moisture conducts heat away from your bare feet faster than dry wood does. If one specific three-foot area of your hardwood floor feels noticeably colder than the surrounding boards on a winter morning, before the heat has run for long, that patch is likely damp. This is the single best way to find early-stage foundation leaks in San Francisco’s uninsulated crawl spaces.
- Paint bubbling without a visible water source. When paint blisters on a ceiling or wall with no bathroom above it and no obvious leak, the moisture is coming from inside the wall cavity, not from the surface. In San Francisco’s fog-driven humidity cycles, those bubbles can appear and disappear for months before the leak becomes visible. The bubbles are the leak. By the time they stay visible, the cavity has been wet long enough for mold to be well underway.
- Fog on the inside of windows that persists past 10 a.m. Every San Francisco home gets window fog on cold mornings. The question is whether it clears. If the interior fog persists after the sun rises and the heat comes on, the indoor humidity is being driven higher by evaporation from wet materials somewhere in the house. One foggy window is normal. An entire floor of foggy windows is a moisture audit.
If you are seeing two or more of these signals in the same area of your home, do not wait for the primary sign, the visible stain or the dripping pipe. The moisture has been active long enough to affect materials, and the sooner a technician traces it, the smaller the repair scope. Our Water Damage Restoration in San Francisco process starts with exactly that trace: finding where the water traveled, not just where it appeared.
Bay Window Cracks: Settling vs. Water Intrusion
San Francisco bay windows are beautiful and chronically underflashed. The three-sided projection that gives the city its distinctive facade also creates three separate roof-to-wall transitions, and every one of them is a potential water entry point. When cracks appear in the plaster above a bay window, homeowners almost always attribute them to settling. Sometimes they are right. Often they are not, and the difference is readable without a structural engineer if you know what to look at.
Read the angle first.
Vertical cracks or diagonal cracks running at roughly 45 degrees from the window’s upper corner are typical of normal structural settling and seismic movement. Water-intrusion cracks do something different. They run horizontally along the top of the window casing or stair-step along the corner where the bay meets the main wall, and they tend to be wider at the top than at the bottom. That pattern happens when swollen framing pushes against the plaster instead of the wall settling downward.
Track the width over time.
Here is a simple DIY protocol. Measure the crack at its widest point with a ruler and write the measurement on the wall next to it in pencil, with the date. Check it again in 60 days. If it has not changed or changed by less than 1/16 inch, you are likely dealing with normal seasonal movement. If it has opened by an eighth of an inch or more, or if the edges are no longer aligned in the same plane (one side of the crack is proud of the other), water is probably involved. Swelling framing pushes plaster outward. Settling pulls it downward. The direction tells you the cause.
Look at the adjacent materials.
The most telling clue is often not the crack at all. Look at the windowsill. If the paint is peeling there more than anywhere else in the room, if the wood feels soft when you press a fingernail into it, or if the caulk between sill and sash is pulling away in a way it never did before, water is entering above and running down inside the wall to the sill line. The crack is the symptom. The sill is the confirmation.
Bay windows in the Marina and Pacific Heights face another variable: wind-driven rain. A bay window on the west or northwest exposure catches San Francisco’s winter storms at full force. If you are seeing those horizontal cracks only on one side of the bay, the weather-facing side, that is almost certainly water, not settling. Your next step is a professional moisture reading, not a patch-and-paint repair.
The Smell Map: Where Mold Odor Actually Comes From
Mold odor does not behave the way most San Francisco homeowners assume it does. It is not strongest at the source. It is strongest where air currents deposit the microbial volatile organic compounds (MVOCs) that mold releases as it digests wet materials. In a typical San Francisco home, that means the smell in your living room is almost always coming from the crawl space two rooms away.
Here is how the physics works. A home’s stack effect pulls air up from the crawl space or basement, through wall cavities and floor openings, and out through the upper portions of the house. In San Francisco’s mild climate, this effect is active year-round, not just in winter. When mold grows in a damp crawl space, the MVOCs ride up that air column and emerge wherever the house lets indoor air escape: around recessed light fixtures, through electrical outlets, along fireplace surrounds, and most commonly, into the room directly above the crawl space entry.
That means the musty smell in your living room is probably not a mold source in the living room. It is a mold source below it, and you are smelling the exhaust. If the smell is stronger in the morning than the evening, stronger on humid days, and noticeably stronger near the floor than near the ceiling, the source is below you. If it is stronger near the ceiling and gets worse when the heat runs, the source is inside the wall or ceiling cavity itself.
A third pattern we see often in San Francisco flats: the smell that moves. When a homeowner tells us the musty odor was in the hallway last week and near the stairs this week, we know the mold is in a shared wall or floor cavity, and the house’s air currents are moving the smell rather than the mold growing in different locations. For anyone considering Mold Remediation in San Francisco, this distinction matters: a provider who treats the room where you smell the odor is treating the wrong location. The source is found by tracing the air path, not by sampling the room.
How to Photograph Warning Signs for an Insurance Claim
When you first notice a water damage warning sign, you may not know yet whether it will become an insurance claim. It might be a dry-rot repair you handle yourself, or it might turn into a full restoration project once a professional opens the wall. Our DIY vs Professional Damage Restoration guide can help you decide. Either way, the photos you take in the first 24 hours are the most valuable evidence you will have, and most homeowners take them wrong.
Photos that look fine to a homeowner are often useless to an adjuster. Dark, zoomed-in close-ups with no context, no measurement, and no timestamp do not substantiate anything. Here is a protocol that creates a timestamped, geographically traceable, claim-ready record before you call anyone, and it takes about ten minutes.
- Take a context shot first. Stand far enough back to show the entire wall, floor, or room where the sign appears. The adjuster needs to see where in the house this is. If you have a floor plan, include it in one photo.
- Take a mid-range shot second. Move close enough that the warning sign is clearly visible but its surroundings are still identifiable. The doorway, the window, the patch of floor next to the wall.
- Take the close-up third. Now get close enough to show the actual damage: the crack pattern, the stain edges, the nail pops. Hold your phone steady and use natural light if possible. Flash washes out subtle discoloration.
- Include a measurement reference. A ruler, a quarter, or even your hand placed next to the stain or crack gives the adjuster a scale reference. This is the step 90 percent of homeowners skip, and it is the step that makes close-ups usable.
- Enable geotagging and timestamping. Your phone does this automatically, but verify it is turned on. The embedded metadata tells the insurer exactly when and where each photo was taken.
- Repeat every 5 to 7 days. If the warning sign is changing, photographs taken a week apart are the strongest evidence that the damage is active and progressing. Static damage from an old leak looks the same in every photo. Active damage does not.
- Email the photos to yourself. This creates a server-side timestamp that is hard to dispute. If the claim is denied for reporting delay, your email record proves when you first noticed and documented the issue.
One more note for San Francisco homeowners: our fog season produces natural humidity spikes that can make water damage look worse in photos than it is. Take your documentation photos in the late morning, after interior humidity has stabilized and before the afternoon fog rolls in. The visual record is cleaner, and the evidence is clearer.
Same-Day Assessment vs. Scheduled Appointment: Which Is Which
Not every warning sign is an emergency, and knowing the difference saves you money and stress. Over-reacting means you pay for after-hours dispatch you did not need. Under-reacting means a preventable problem spreads into structural damage. Here is the triage we use when a San Francisco homeowner calls us with a warning sign they have just noticed.
Same-day: signs that require a professional within 24 hours.
- Active water movement you can see or hear. Water dripping through a light fixture, running down a wall, or the sound of water inside a wall cavity means the leak is ongoing and the damage is growing by the hour. The volume of water matters less than the fact that it has not stopped.
- Sudden softness or deflection in a floor. If a floor that felt solid last month now flexes or feels spongy, the structural material has already lost significant integrity. This is not a repair; it is a safety issue. Keep children and heavy furniture off the affected area until it is assessed.
- Any evidence of water around electrical components. Water and wiring do not mix, and in a San Francisco home with older electrical systems, this is an immediate call. Do not touch the affected area, flip the relevant breaker if you can do so safely, and get a professional on site.
Scheduled appointment: signs that allow a measured response within a few days.
- Suspected but unconfirmed moisture. If you have a musty smell, a suspicious cool patch on the floor, or paint bubbling with no active leak, the immediate risk is contained. Schedule a moisture assessment for the next available slot. Most providers in San Francisco can see you within two to three days.
- Efflorescence or stained brickwork. Mineral deposits and old stains indicate past water movement or slow, ongoing seepage. The timeline matters, but days rather than hours will not change the repair scope.
- Bay window cracks with no other active signs. If the crack has not progressed in your 60-day measurement check and the sill is sound, this can wait for a scheduled assessment.
The common thread: if the water is still moving, it is same-day. If the water has stopped but the evidence remains, you have time. When in doubt, call and describe what you see. A live person answers at (831) 400-3496, and they will help you triage over the phone without charging for the conversation.
Common Mistakes to Avoid
- Painting over ceiling stains before finding the source. A fresh coat of paint hides the evidence but does nothing to stop the moisture behind it. Within a few weeks, the stain returns, and you have wasted the paint and the labor. Find the source first, then paint.
- Treating the room where the smell is instead of the room where the moisture is. As covered in the smell map section, mold odor surfaces far from its source. Spraying deodorizer or running an air purifier in the living room masks the symptom while the crawl space mold continues to grow.
- Ignoring seasonal sticking doors. San Francisco homeowners are quick to blame fog, humidity, and old hinges for doors that stick in summer. Sometimes they are right. But if the sticking is new, persistent, and worse on one side of the house, the framing is absorbing water, and the door is the canary in the coal mine.
- Using a consumer-grade moisture meter incorrectly. Those inexpensive pin-type meters from the hardware store only measure surface moisture, not the moisture inside wall cavities or subfloor. A reading of “dry” on a painted wall does not rule out a wet cavity behind it. If you are going to test, have a professional do it with penetrating probes and thermal imaging.
- Calling insurance before documenting. The sequence matters. Photograph first, document second, call third. Once you open a claim, the insurer’s timeline starts, and you want your photo record in place before that clock begins.
- Assuming a small stain means a small problem. In San Francisco’s absorbent building materials, the visible stain is often the last stop on a long moisture path. A saucer-sized stain on a ceiling can mean a beam cavity above it has been wet for months, and the repair scope will not be known until someone opens the ceiling.
- Delaying a crawl space inspection because it is unpleasant. Nobody enjoys crawling under a San Francisco Victorian. But the crawl space is where most of this city’s water damage lives, and an annual visual inspection catches most of these warning signs before they reach the living space. Wear a headlamp and a mask, and go look.
When to Call a Professional
Call a professional when you have confirmed any same-day warning sign listed above, or when you have two or more secondary signals appearing in the same area of the home, or when you have already tried a surface repair and the problem returned. A professional assessment answers the question you cannot answer yourself: how far has the water traveled, and what is the actual repair scope behind the visible evidence. For San Francisco homeowners, Fire Damage Restoration in San Francisco and water damage restoration share one critical principle: the visible damage is never the whole story. Tidemark Water Damage San Francisco offers free estimates throughout the city, with a written price before any work starts. Call (831) 400-3496 and a real person will answer, day or night.
Frequently Asked Questions
The first signs are usually nail pops appearing on plaster walls, doors that suddenly stick, and a musty smell stronger near the floor than the ceiling. These appear weeks or months before any visible stain, because Victorian-era plaster and redwood absorb moisture quietly. If you notice two of these signals in the same room, schedule a moisture assessment. Call (831) 400-3496 for a free opinion on what you are seeing.
Settling cracks run vertically or at 45 degrees and change little week to week, while water-intrusion cracks run horizontally along the top of the window casing and widen measurably over a 60-day period. Use the measurement protocol in the section above: mark the crack width and date on the wall in pencil, then recheck in two months. If it has opened by more than an eighth of an inch, water is likely behind it.
Because the mold is almost certainly in the crawl space or a lower wall cavity, and the smell is being carried up through the house by natural stack-effect air movement before surfacing in the room above. The room where you smell it is the exit point, not the source. A professional moisture assessment with a crawl space inspection will find the actual location. Estimates for that assessment are free through (831) 400-3496.
You can, but the readings are limited to the surface, and a dry wall surface does not rule out a wet wall cavity. In San Francisco homes with plaster and lath construction, the moisture is often between the plaster and the exterior sheathing, where a consumer pin-type meter cannot reach. Professional-grade equipment and thermal imaging give a complete picture, and most local restoration providers include this assessment at no charge. See our guide on how to hire a damage restoration contractor in San Francisco for what to ask.
In our experience, slow plumbing leaks and flashing failures can go undetected for 6 to 12 months before producing a visible stain in the living space, because redwood, plaster, and mud-set tile absorb and hold moisture without showing it. The secondary signals, sticking doors, nail pops, floor temperature changes, usually appear first. Learning to read them is the single most effective way to catch a leak early.
It depends on your policy and how the water entered the home. Sudden and accidental events are typically covered; slow leaks that happened over months are often excluded or partially covered. This is why the photo-documentation protocol above matters: your timestamped record shows when you noticed the problem and what you did about it. Take the photos before you call your carrier, and always ask your restoration provider if they coordinate directly with your adjuster. Tidemark does, and we share every photo and moisture reading we take.
The Bottom Line
San Francisco homes are built from materials that hold water quietly, which means the visible signs of damage are always late. The way to stay ahead of the damage is to read the secondary signals: the nail pops, the sticking doors, the mineral blooms, the smell that shows up where the mold is not. Photograph what you see before you call anyone. Distinguish same-day emergencies from scheduled repairs. And when you do call a professional, get the written price before the work starts. That is not a sales tactic. (831) 400-3496 is the number to dial. A real person answers, and the estimate is free.
Written by Rick Sumner, Owner at Tidemark Water Damage San Francisco, serving San Francisco since 2006. Browse more guides & resources on our blog.
See the difference
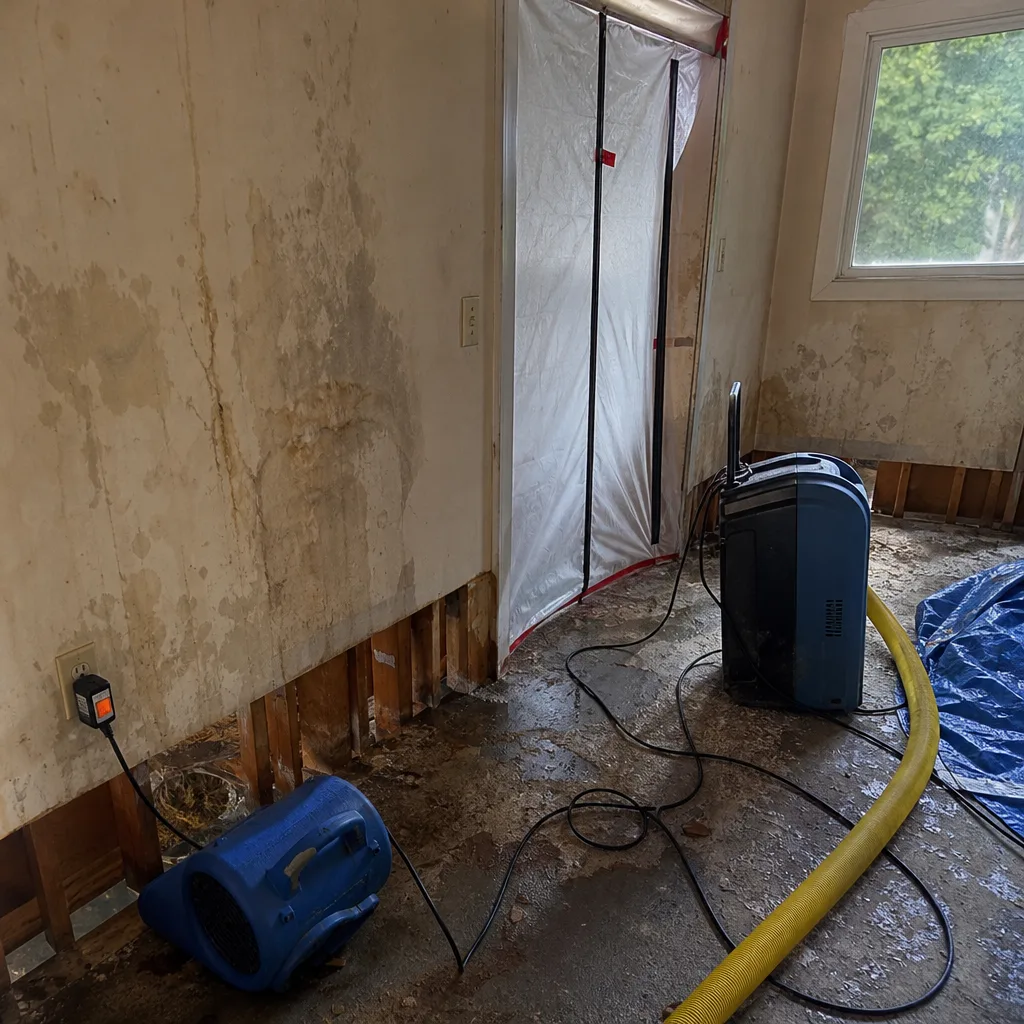 Before
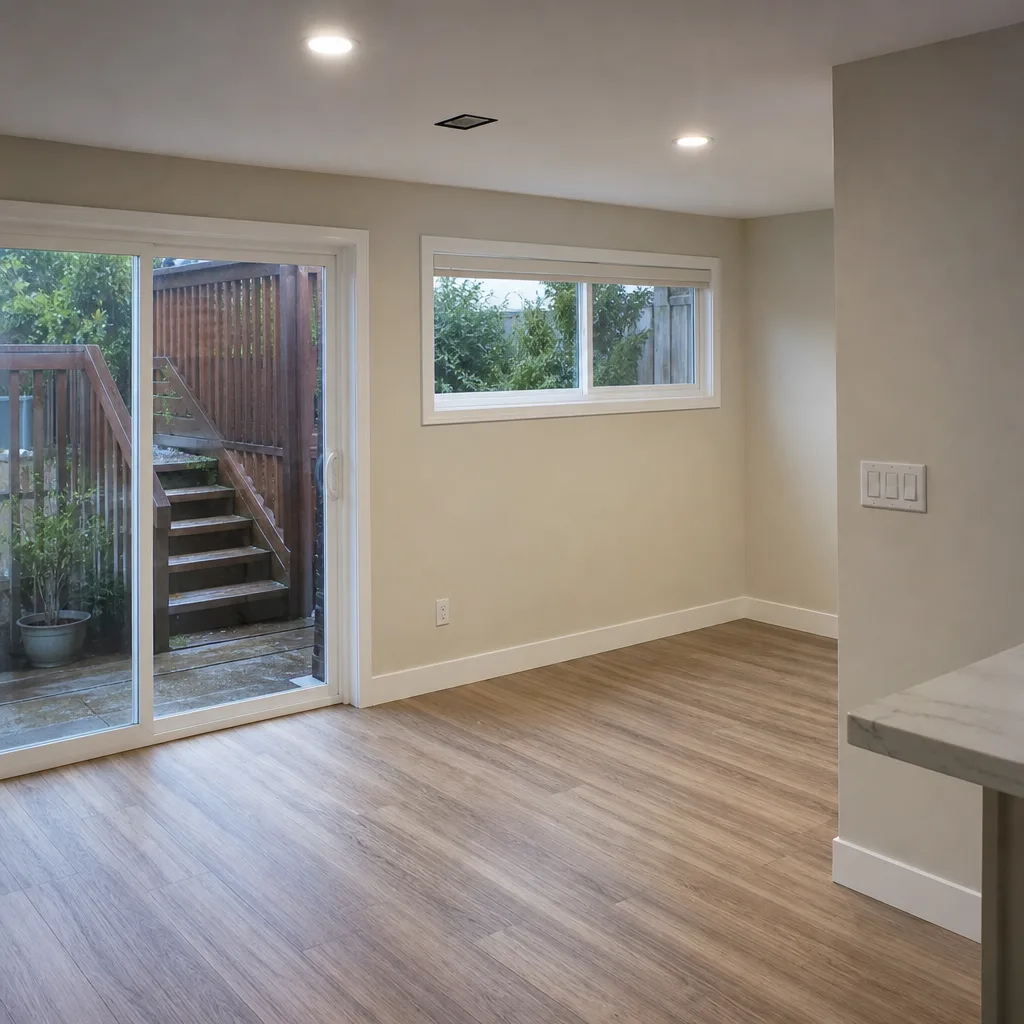 After
After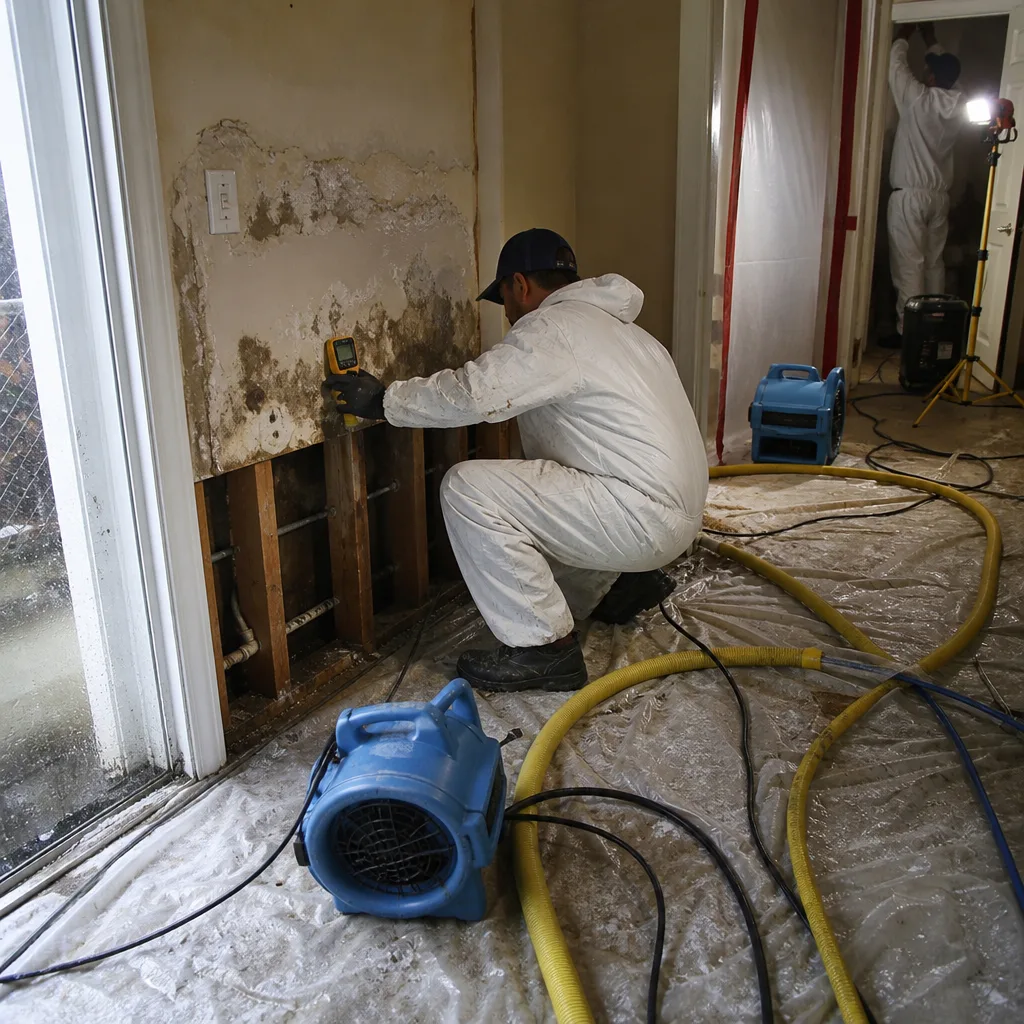 Before
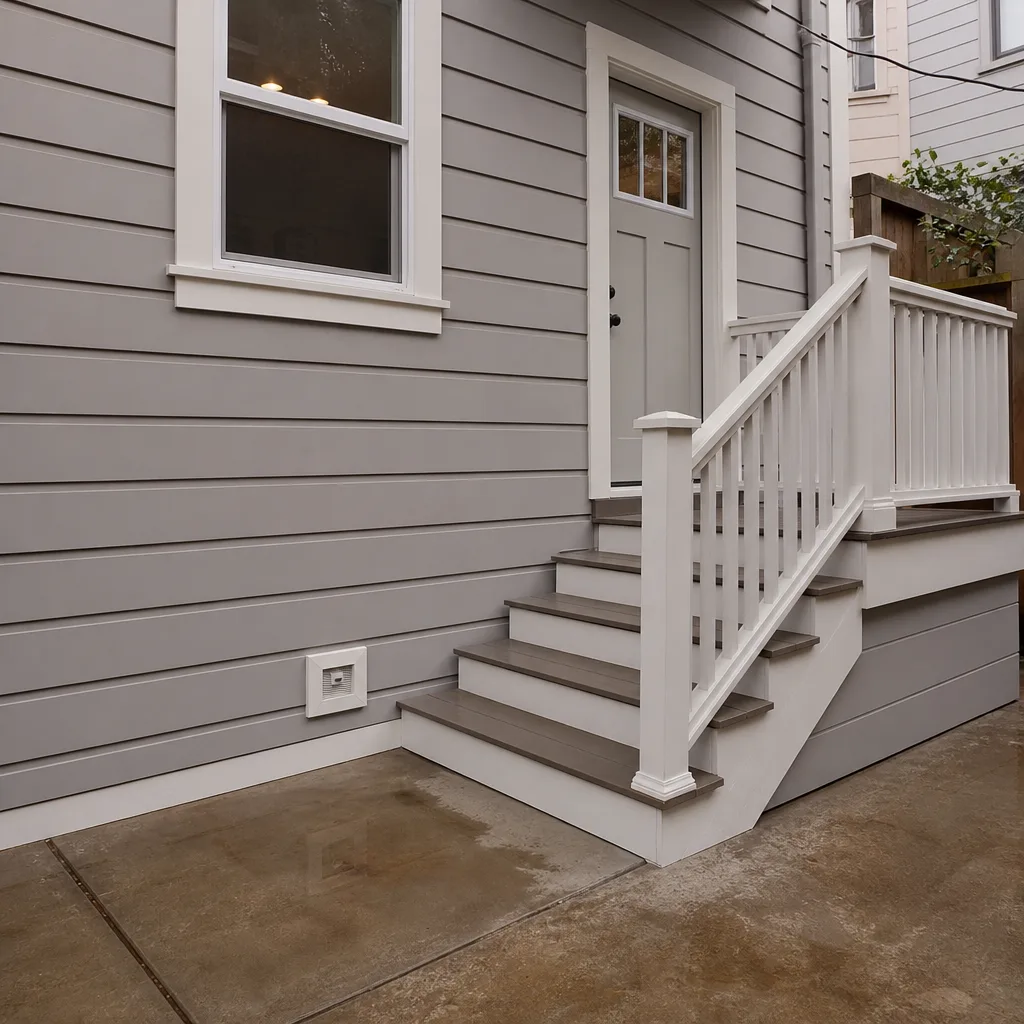 After
After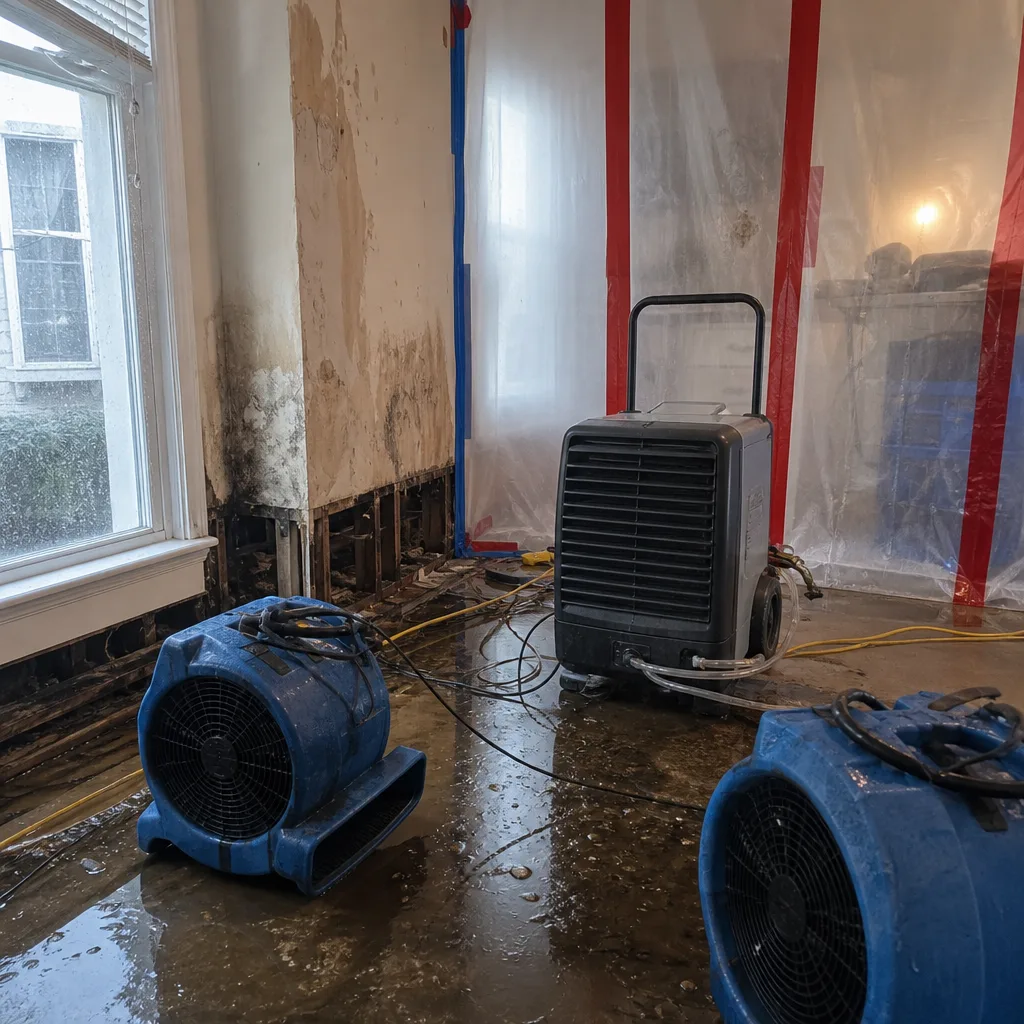 Before
 After
After