
Last updated October 16, 2026
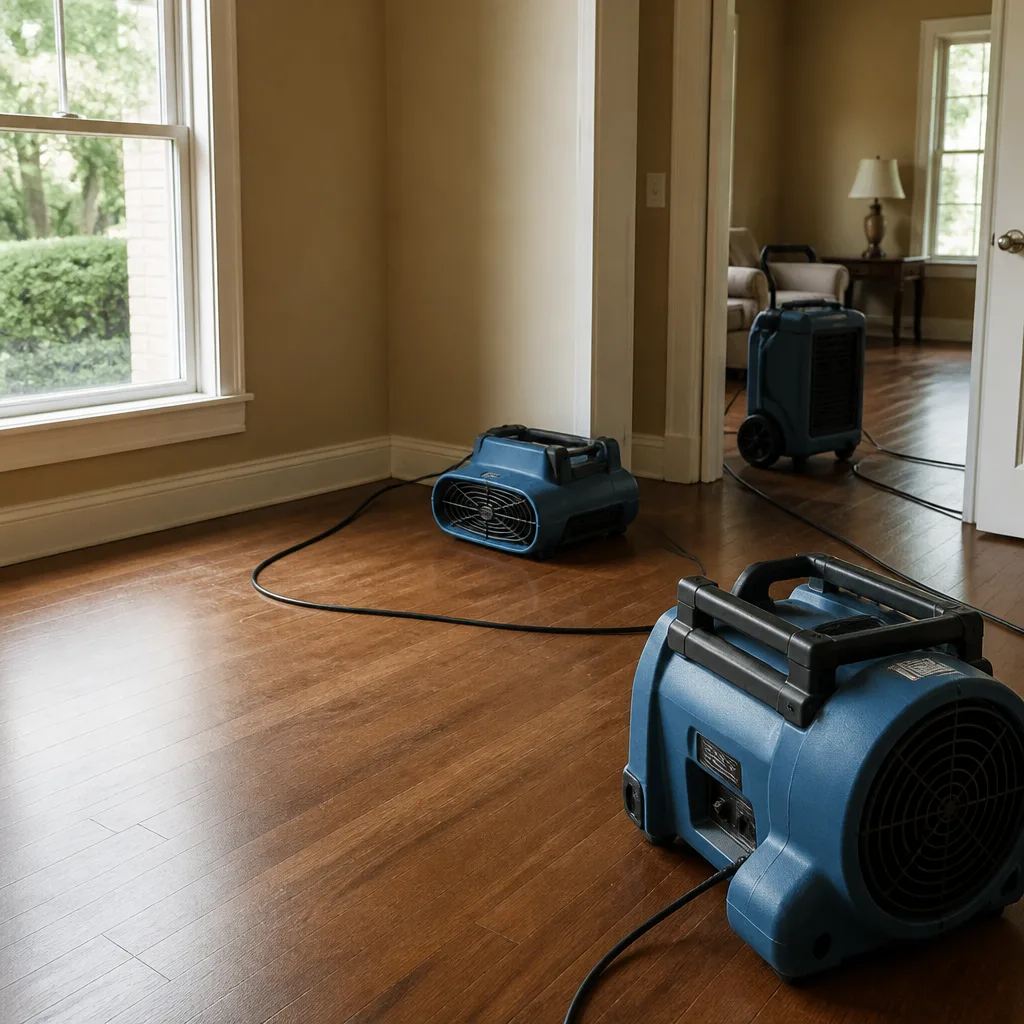 Water damage drying
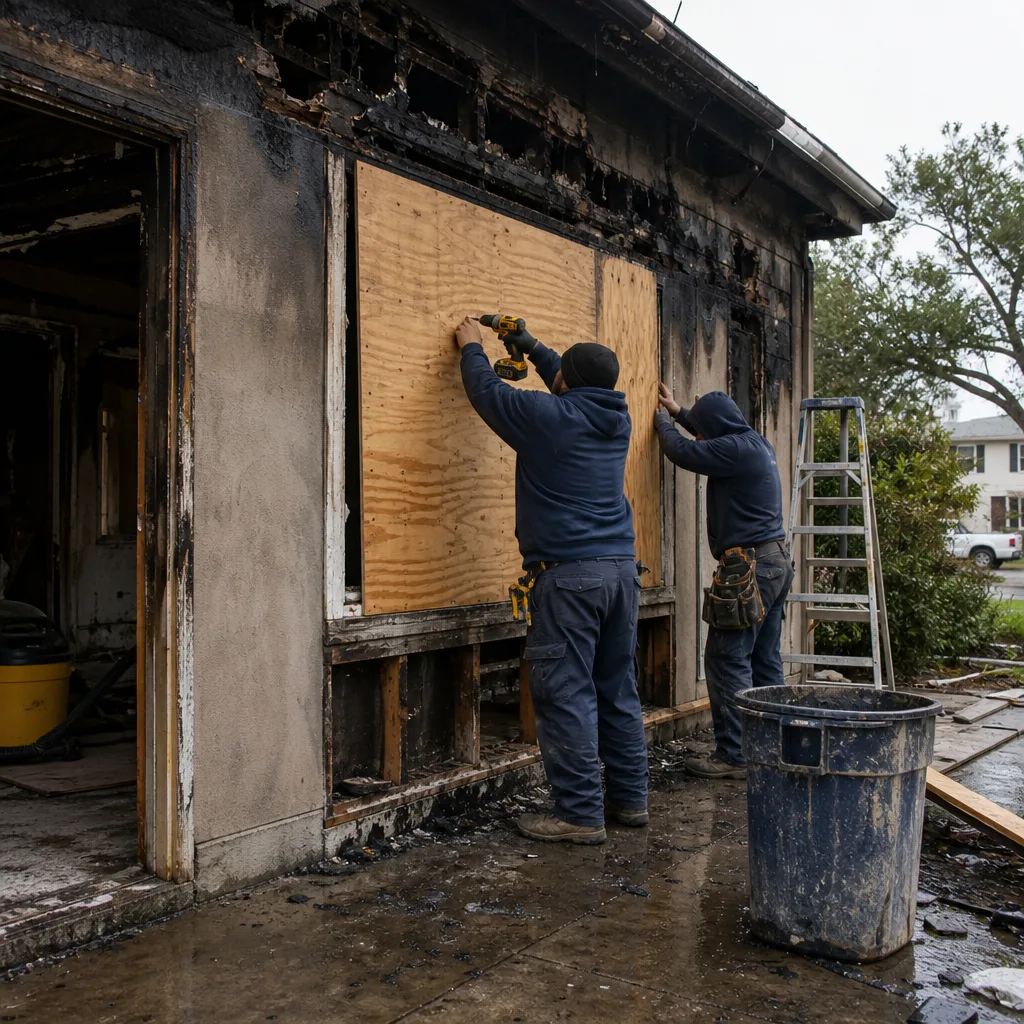
 Fire & smoke cleanup
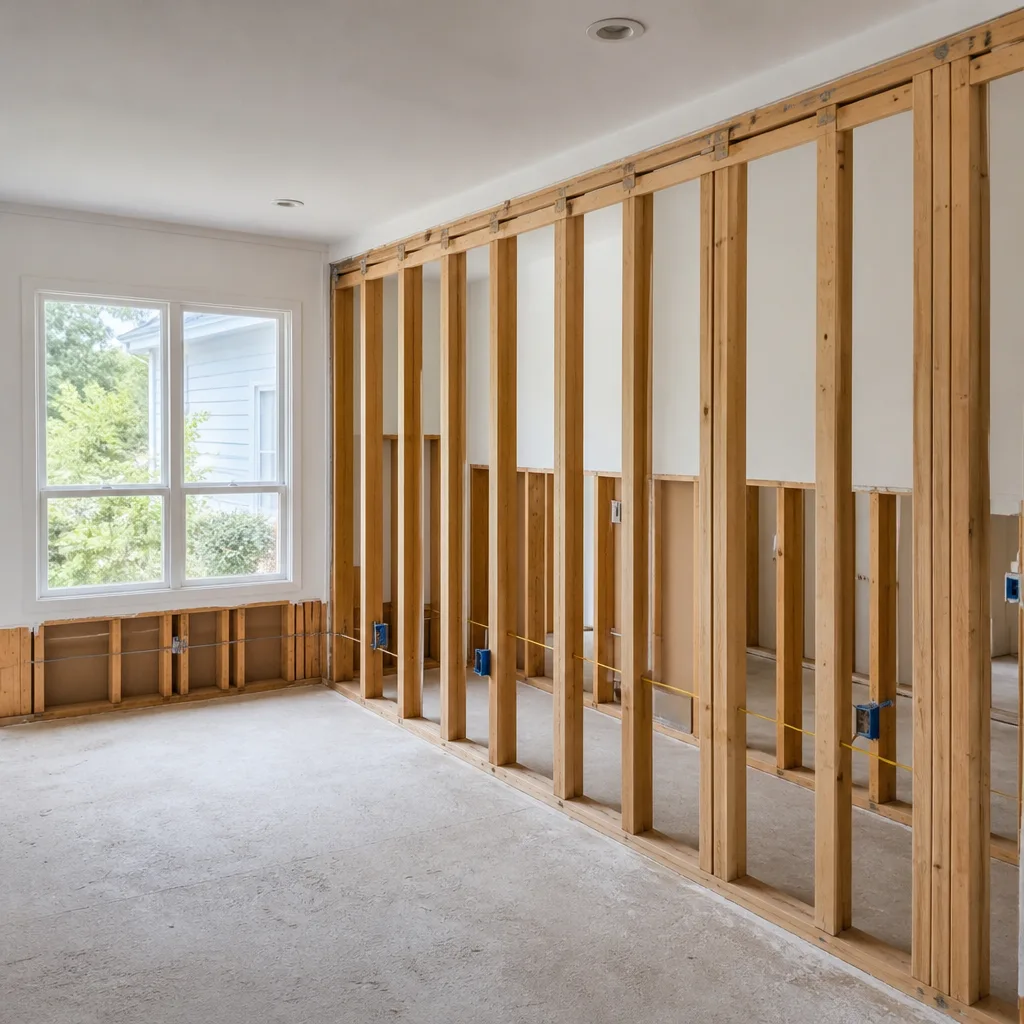 Mold remediation
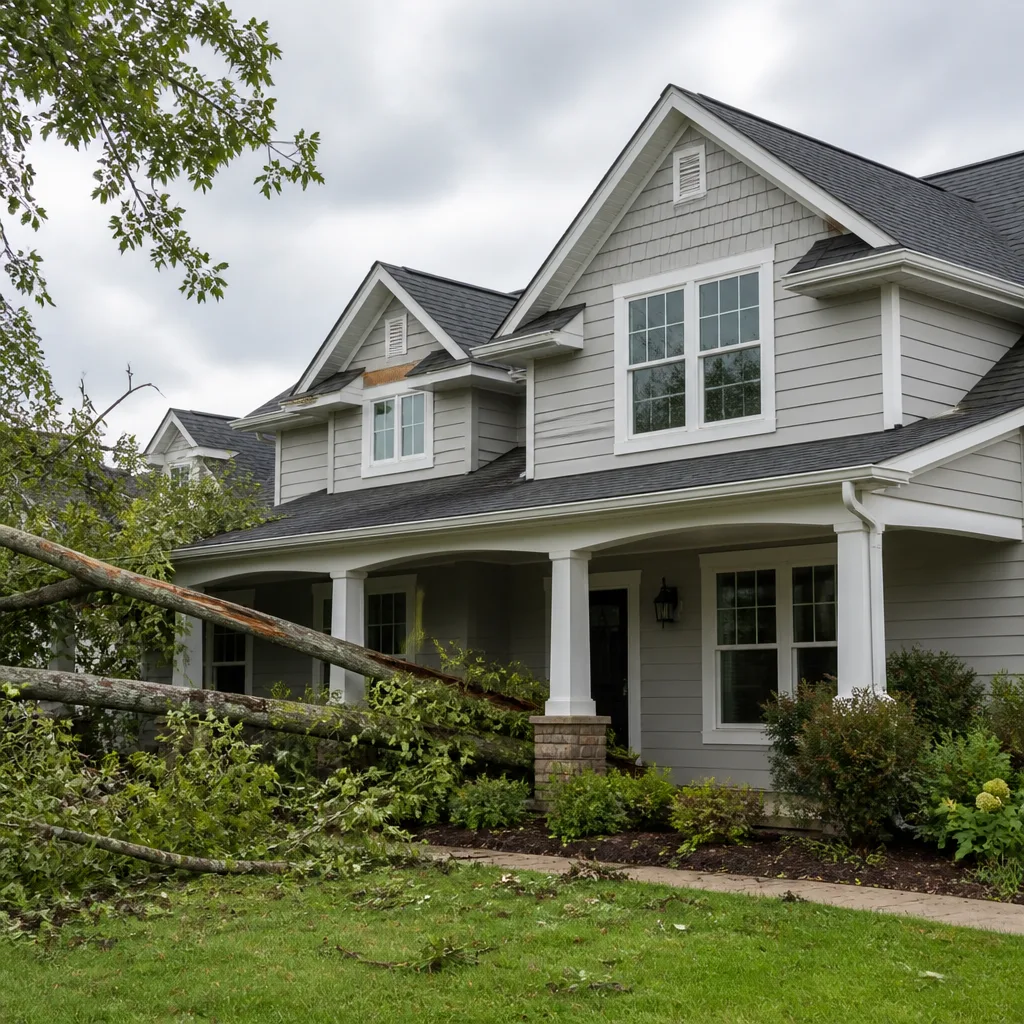 Storm response
 Sewage cleanup
 Reconstruction
Free visual inspection and a written scope of work before any mitigation begins - photos, moisture readings, and drying logs go in your claim file
The scope we write is the scope we bill. Anything new gets shown to you, in writing, before we touch it.
Get your free estimateDIY vs Professional Damage Restoration: The San Francisco Homeowner’s Decision Guide
Here’s a number most San Francisco homeowners never hear until it’s too late: a standard homeowner’s insurance policy in California typically requires the policyholder to take “reasonable steps” to protect the property from further damage after a water event. What counts as “reasonable” is not defined anywhere in your policy. It’s defined later, by an adjuster, after the damage is done. This guide draws the three invisible lines that decide whether your DIY effort saves you money or costs you the claim, and you can explore more guides & resources in our blog.
Quick Answer
DIY water damage restoration in San Francisco is viable for small, clean-water spills (Class 1 damage under roughly 50 square feet) that you can fully dry within 48 hours. Anything involving sewage, water that sat longer than 24 hours, electrical exposure, or water that traveled into wall cavities or under flooring crosses into professional territory, both for safety and because your insurance company can reduce or deny the claim if they determine the damage was not properly mitigated. For help choosing a qualified professional, see How to Hire a Damage Restoration Contractor in San Francisco: A Step-by-Step Guide.
Restoration work we handle
Table of Contents
- The Three Lines That Decide DIY vs Professional
- What To Do In The First Four Hours (And What Not To Do)
- The Four Damage Classes: Where Your Situation Falls
- The Mold Line: Why DIY Demo Can Spread Contamination
- What DIY Actually Saves Versus What It Risks
- The Permit Line: When California Law Requires A Licensed Contractor
- The Equipment Gap: What Pros Use That You Can’t Rent Cheaply
- Common Mistakes to Avoid
- When to Call a Professional
- Frequently Asked Questions
The Three Lines That Decide DIY vs Professional
Every water damage situation in San Francisco sits somewhere relative to three thresholds. Cross any one of them, and the job is no longer a DIY question. Cross two, and you’ll likely be calling a restoration company anyway, just later and with more damage to show for it.
The Insurance Claim Line. California insurance policies are contracts, and the language in them matters more than what feels fair. The standard ISO homeowners policy used by most carriers in California includes a condition called “Duties After Loss.” It requires you to “protect the property from further damage” and “make reasonable and necessary repairs to protect the property.” Here’s what that means in practice: if a supply line bursts on a Tuesday and you mop the floor and run a box fan for three days, then file a claim on Friday when the baseboards start swelling, the adjuster can argue you failed to mitigate. The secondary damage (warped flooring, soaked drywall, the mold that started in the wall cavity) can be classified as “resulting from failure to protect the property,” which is excluded from coverage. We see this regularly in San Francisco homes: a homeowner does what feels like a thorough job, files the claim, and gets a partial denial because the drying wasn’t documented or the moisture wasn’t measured.
The Permit Line. California Business and Professions Code Section 7048 allows an owner-builder to perform work on their own residence without a contractor’s license, provided the property is owner-occupied and not intended for sale within one year. That exemption covers a lot. But it does not override the California Building Code. In San Francisco, any modification to plumbing, electrical, or structural framing requires a permit, and San Francisco’s Department of Building Inspection enforces this strictly. Replacing drywall is fine. Moving or repairing in-wall supply lines is not, unless you pull a permit as an owner-builder and pass inspection. Cut into a wall to dry it out and discover a corroded galvanized pipe that needs a section replaced? You’ve just crossed the permit line.
The Mold Line. This one is biological, not legal. Mold spores exist in every San Francisco home, fed by the city’s consistent humidity. When water sits in porous material for more than 24 to 48 hours, dormant spores activate. At that point, any disturbance of the material, tearing out drywall, pulling up carpet, removing baseboards, releases spores into the air in concentrations far above normal. Without containment and negative air pressure, those spores travel. In a detached single-family home, they spread through the house. In an attached San Francisco row house or a Marina-style four-unit building, they can move through shared wall cavities into a neighbor’s unit. The mold line is the point at which DIY demolition stops containing a problem and starts spreading one.
For a deeper look at how professionals handle the full scope of water damage work, see our guide to Water Damage Restoration in San Francisco.
What To Do In The First Four Hours (And What Not To Do)
The first four hours after a water event matter more than the next four days. What you do in that window either protects your claim or gives the adjuster ammunition. Here’s the sequence we recommend to every San Francisco homeowner who calls us while standing in an inch of water.
- Stop the source. Shut off the water at the fixture valve, or at the main if you can’t find the fixture valve. For a burst pipe, the main shutoff is usually at the street or where the water line enters the garage. Knowing where yours is before you need it saves 20 minutes of panic.
- Kill the electricity to the affected area. Water and wiring don’t mix. If water is near outlets, appliances, or a subpanel, turn off the breaker for that room. If you can’t safely reach the panel without standing in water, call an electrician or call us. Never touch an electrical panel while standing on a wet floor.
- Document everything before you move anything. Photos and video of the standing water, the source, the affected rooms, the contents. Insurance adjusters work from documentation. Take wide shots and close-ups. Take a photo of the water line on the wall, which is the tide mark.
- Move what you can move without causing more damage. Small furniture, rugs, books, electronics. Lift, don’t drag. Dragging a wet rug across a wood floor can scratch the finish and create a new line item the adjuster will call pre-existing.
- Place towels or rags under furniture legs. Wet furniture feet stain wood and carpet. Aluminum foil works too. This is a small step that prevents a big claim dispute later.
- Call your insurance company. Report the loss. Ask specifically: “Does my policy require me to use specific mitigation vendors?” and “What documentation do you need from me for the mitigation?” Write down the claim number and the adjuster’s name.
What not to do in those first four hours:
- Don’t use a shop vac on a saturated carpet and call it mitigated. A shop vac removes surface water. It does not remove water from the pad, the subfloor, or the wall cavities. Adjusters know the difference.
- Don’t run box fans and open windows and assume that’s drying. In San Francisco, opening windows often makes things worse. The city’s average humidity runs 60 to 75 percent year-round, meaning outside air is often wetter than inside air. Uncontrolled ventilation without dehumidification can slow drying and feed mold growth.
- Don’t cut into walls or pull baseboards. Not yet. That’s the mold line, and it’s one of the fastest ways to complicate a claim.
- Don’t throw anything away. Damaged building materials and contents are evidence. Adjusters need to see them. Put damaged items in a garage or covered outdoor area, but keep them on the property until the adjuster releases them in writing.
- Don’t sign anything from a restoration company that showed up unsolicited. San Francisco has a well-known problem with storm-chasing restoration outfits that show up at a flooded home before the adjuster does. Before you sign a work authorization, read the scope line carefully. You can call us at (831) 400-3496 and we’ll walk you through what a fair scope looks like.
For more context on what professional restoration actually involves, see our Tidemark Water Damage San Francisco home page.
The Four Damage Classes: Where Your Situation Falls
The restoration industry uses a four-class system to categorize water damage, defined by the IICRC S500 standard, which is the reference document most insurance adjusters default to in California. Knowing your class tells you whether DIY is a legitimate option or a costly mistake.
Class 1: Minor, contained, manageable
What it looks like: A water heater leaks onto a concrete garage floor. A toilet overflows clean water onto tile. A window leaks during a storm and wets a small patch of hardwood. Less than 50 square feet affected, minimal porosity in the materials, little to no carpet or drywall involved.
DIY viability: Good. If you can fully dry the area within 48 hours using fans, a dehumidifier, and towels, and you confirm dryness with a moisture meter (rentable for around $30 a day), you’ve likely handled it. Document everything with photos and note the date and time of each drying step.
Insurance implication: Low. Many San Francisco homeowners don’t even file a claim for Class 1 damage, especially since the deductible often exceeds the repair cost anyway. If you do file, your documentation shows reasonable mitigation.
Class 2: Significant, spread through porous materials
What it looks like: A supply line bursts while you’re at work and runs for two hours. Water covers a 200-square-foot living room with carpet and pad, soaks into the lower 12 inches of drywall, and wicks up into baseboards and door casings. This is the most common class we see in San Francisco’s older housing stock, where 1920s and 1930s construction means lath-and-plaster walls that hold water aggressively.
DIY viability: Marginal at best. The problem isn’t the visible water. It’s the water you can’t see: inside wall cavities, under the carpet pad, behind baseboards. Without moisture meters, a commercial dehumidifier, and high-volume air movers, you cannot verify dryness. Left damp, lath-and-plaster walls in San Francisco’s fog-belt neighborhoods can support mold growth in as little as 48 hours.
Insurance implication: High. Class 2 damage is where the “failure to mitigate” argument happens. If you attempt DIY drying and the carpet pad stays damp for a week, the resulting delamination, mold, and warping is secondary damage the carrier can attribute to inadequate mitigation.
Class 3: Extensive, high saturation
What it looks like: Overhead supply lines spray water through multiple rooms. Ceilings sag. Water runs inside wall cavities from the second floor to the first. Insulation is saturated. This is common in San Francisco’s multi-level Edwardian and Victorian homes, where a second-floor bathroom leak travels down through floor joists into the kitchen below.
DIY viability: None. Class 3 requires extraction equipment, injectidry systems for wall cavities, structural drying of framing, and in many cases, removal of wet insulation from wall cavities and attic spaces. This is not a fan-and-dehumidifier situation.
Insurance implication: Very high. Class 3 damage that is not professionally mitigated almost always results in a denied secondary-damage claim, plus an expensive repair bill that could have been covered. We’ve walked into Class 3 homes where the homeowner spent three days trying to dry it themselves and ended up with a $30,000 repair that insurance would have paid for in full, had the mitigation been documented properly from hour one.
Class 4: Deep saturation, specialty drying required
What it looks like: Water has saturated hardwood flooring, subfloor, concrete, or masonry. This is the class that requires the most technical expertise and the longest dry times. In San Francisco, Class 4 damage frequently involves hardwood floors over wet crawl spaces, or concrete slab foundations in the Sunset and Richmond districts where water has nowhere to go but up.
DIY viability: None. Class 4 drying requires specialty equipment like Injectidry systems that force air through cavities in hardwood floors and subfloors, plus desiccant dehumidifiers that pull moisture out of dense materials. Even many general contractors don’t have this equipment. It’s a specialized subset of restoration work.
Insurance implication: Highest. Class 4 damage that isn’t dried to the IICRC standard can result in cupped hardwood that must be replaced entirely, subfloor rot, and long-term structural issues. The cost of professional Class 4 drying is typically a fraction of the cost of replacing the materials if they can’t be saved.
The Mold Line: Why DIY Demo Can Spread Contamination
Here’s the scenario we see play out in San Francisco’s attached housing again and again. A homeowner in a Noe Valley Edwardian or a Richmond District row house has a leak. The water sits for a few days before they notice the wall is damp. They decide to save money by tearing out the wet drywall themselves. They put on a dust mask from the hardware store, cut into the wall with a utility knife, and pull out the soggy section. It feels like progress.
What they’ve just done is release every mold spore that’s been growing in that dark, damp wall cavity for the past week directly into their living space. And in an attached home with shared wall cavities, some of those spores may travel through gaps in the framing into the neighbor’s unit. The neighbor’s baby has asthma. The neighbor notices a new musty smell. Now you have a different kind of problem, one that involves liability, not just restoration.
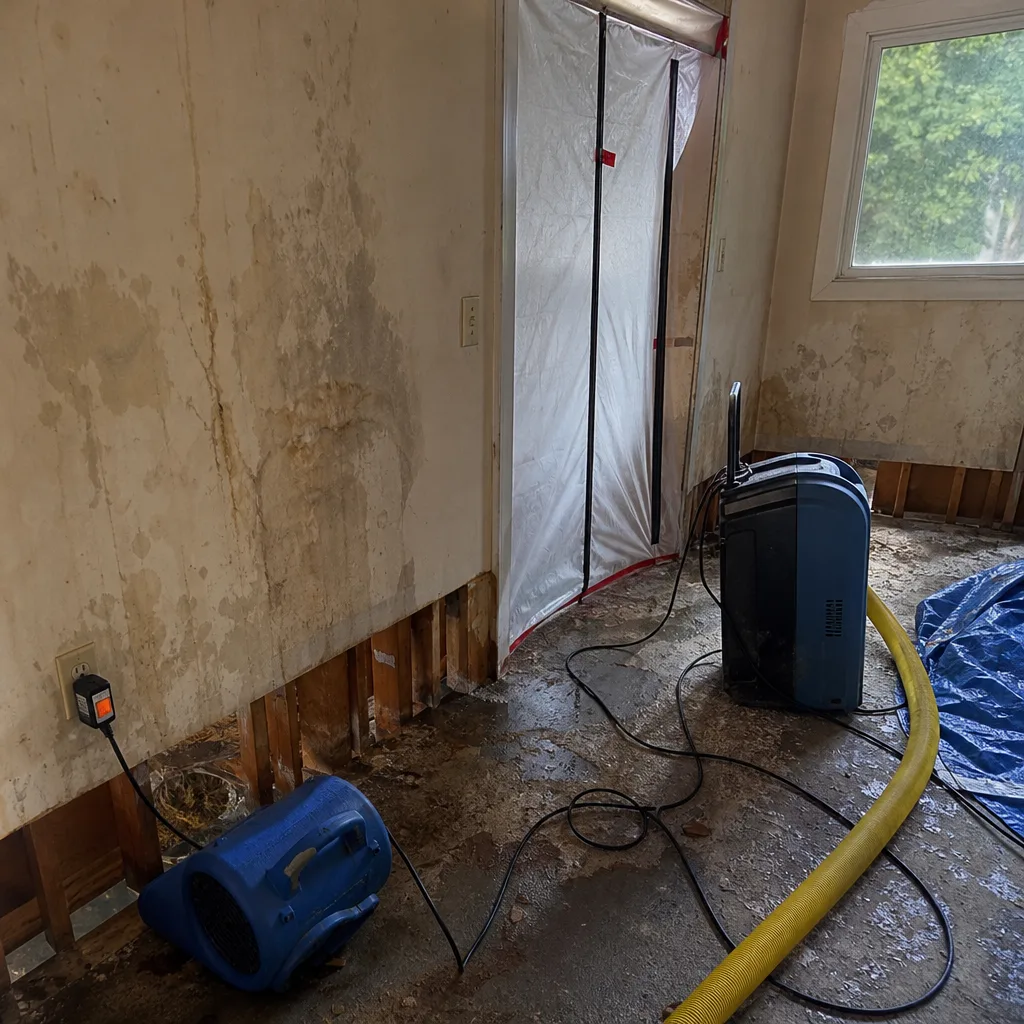
Professional Mold Remediation in San Francisco doesn’t start with demolition. It starts with containment. Technicians seal the work area with 6-mil polyethylene sheeting and create negative air pressure using HEPA-filtered air scrubbers, so that every time they cut into a wall, air flows into the containment zone, not out of it. Spores get trapped in the HEPA filter instead of floating into your kitchen. The difference between containment and no containment is the difference between a one-room remediation and a whole-house contamination event.
The mold line is crossed when any of these conditions are true:
- Water has been present for more than 24 to 48 hours
- The affected material is porous (drywall, carpet, insulation, lath-and-plaster, or unfinished wood)
- The damaged area is larger than roughly 10 square feet
- The damage is in an enclosed cavity (wall, ceiling, floor assembly)
- Anyone in the home has respiratory issues, allergies, or a compromised immune system
If you’re on the DIY side of the line, your job is to dry, not to demolish. If demolition is needed, it’s a professional job, and your insurance company expects it to be done with containment and documentation. That’s not us protecting our business. That’s the standard the IICRC sets and the standard adjusters use to evaluate your claim.
What DIY Actually Saves Versus What It Risks
Let’s talk real numbers for the San Francisco market. These figures are based on what we’ve seen across hundreds of jobs in the city, and they’re what you should use as a sanity check when you’re deciding whether to rent equipment and do it yourself or make the call.
Class 1 DIY cost: Renting a dehumidifier and two air movers from a San Francisco equipment rental yard runs about $80 to $120 per day. A moisture meter rents for around $30 a day. You’ll likely need two to three days of drying. Total DIY cost: roughly $300 to $450, plus your time. Professional cost for the same job: $600 to $1,200. Verdict: DIY can make sense, assuming you document thoroughly and verify dryness.
Class 2 DIY cost: The same rental equipment, but now you’re drying carpet pad, wall cavities, and baseboards. A consumer-grade dehumidifier from a rental yard pulls about 30 to 40 pints per day. A professional Phoenix or Dri-Eaz dehumidifier pulls 70 to 130 pints per day. The DIY job takes longer, achieves less, and leaves hidden moisture in cavities you can’t access. DIY cost: $400 to $600 in rentals plus three to five days of effort. Professional cost: $1,800 to $3,500. But here’s the thing: if DIY fails and mold develops, the remediation cost jumps to $5,000 to $12,000, and the insurance carrier may decline coverage because the mitigation was inadequate. The savings evaporate, and then some.
Class 3 DIY cost: Not possible, but people try anyway. They rent equipment, cut open walls without containment, and create a mess. Then they call us. The average cost of a professional Class 3 mitigation in San Francisco that we’re brought into after a failed DIY attempt is 30 to 40 percent higher than it would have been if we’d been called first, because of the additional demolition needed, the mold that’s now present, and the time lost. We’re not saying that to scare you. We’re saying it because the math is what it is.
Insurance involvement: If you file a claim, your insurance company is going to evaluate whether you met your duty to mitigate. If you did the DIY job right and can prove it with moisture readings and photos, you’re fine. If you can’t prove it, the adjuster assumes the worst, because that’s their job. Professional restoration companies provide a drying log, daily moisture readings, and a written report that becomes part of your claim file. That documentation is frequently the difference between a covered claim and a disputed one.
The honest accounting: DIY saves money on Class 1 damage and occasionally on the very low end of Class 2. On anything worse, it risks your claim, your health, and your house. In San Francisco, where construction costs run 20 to 30 percent above the national average, the cost of getting it wrong is higher than anywhere else in the country.
The Permit Line: When California Law Requires A Licensed Contractor
We touched on this earlier, but it deserves its own section because it’s the threshold most homeowners don’t know exists until a building inspector is standing in their living room.
California Business and Professions Code Section 7048 says you can act as your own contractor on your own owner-occupied residential property. You can pull permits, do the work, and pass inspection. What it doesn’t do is exempt you from the California Building Code or San Francisco’s local amendments. When water damage forces a repair that touches any of the following, you’re legally required to pull a permit with the San Francisco Department of Building Inspection:
- Replacing or repairing in-wall plumbing supply lines, waste lines, or vent lines
- Modifying any electrical wiring, outlets, or circuits affected by water
- Cutting, notching, or reinforcing structural framing members (floor joists, studs, beams)
- Replacing more than a specified amount of drywall (San Francisco’s threshold is based on square footage and fire-rating requirements in certain wall assemblies)
- Any work affecting fire-rated assemblies, which is common in San Francisco’s attached multi-unit buildings
Here’s the nuance that matters: you can legally do the work yourself as an owner-builder, but you still need the permit. The permit requires plans, inspections, and time. A licensed contractor handles the permit as part of the job. An unlicensed handyman cannot legally pull a permit in San Francisco, and hiring one to do work that requires a permit puts you, not the handyman, in violation. Your insurance company knows this. If a permitted repair was done without a permit and something fails later, the claim gets complicated fast.
After a fire, the permit line becomes non-negotiable. Structural repairs, electrical work, and any reconnection of utilities require permits and licensed professionals. See our guide to Fire Damage Restoration in San Francisco for the full picture of what a fire loss involves.
The Equipment Gap: What Pros Use That You Can’t Rent Cheaply
The single biggest difference between DIY drying and professional drying is not skill. It’s equipment. The machines we deploy on a San Francisco water damage job are not the machines available at your local rental yard, and the difference shows up in the dry time and the outcome.
A rental yard dehumidifier pulls 30 to 40 pints of water per day under ideal conditions. A professional Phoenix or Dri-Eaz dehumidifier pulls 70 to 130 pints. That’s two to three times the water removal per hour, which means the materials reach a dry standard in days, not weeks. In San Francisco, where ambient humidity hovers around 60 to 75 percent, that speed matters enormously. The longer porous materials stay wet, the more likely mold activation becomes.
Air movers are another gap. The XPOWER and B-Air units we use move air at speeds that create evaporation at the surface of wet materials, not just in the room. Placement matters: air movers have to be positioned to create airflow across walls, under cabinets, and along baseboards. A box fan pointed at a wet wall is not the same thing.
Then there’s the equipment you can’t rent at all. Injectidry systems force air through small holes drilled into wall cavities and under hardwood floors, drying the inside of the assembly, not just the surface. Desiccant dehumidifiers pull moisture out of dense materials like hardwood and plaster that refrigerant dehumidifiers can’t touch. HEPA air scrubbers filter the air during demolition. Thermal imaging cameras find water behind walls that hasn’t shown itself yet. Moisture meters quantify the moisture content of wood, drywall, and concrete, giving us a target number for when drying is complete.
We also run the equipment on lower-decibel settings during school hours and nap time when the situation calls for it. That’s a detail that matters to families in San Francisco, where homes are close together and bedrooms sit above living rooms. The machines are quieter than the jet-engine rental units from the hardware store.
Common Mistakes to Avoid
- Waiting to call insurance because you’re afraid your premium will go up. Water damage claims do affect premiums, but waiting to file can void coverage for secondary damage. File the claim first. Negotiate the premium later.
- Using a shop vac and fans and calling it mitigated. Surface drying is not structural drying. Adjusters know the difference, and your wall cavities are still wet.
- Ripping out drywall without containment. In an attached San Francisco building, this spreads mold spores through shared cavities. The neighbor with the new respiratory issue is now your problem.
- Hiring an unlicensed handyman for water damage work that requires a permit. The savings disappear the moment the Department of Building Inspection gets involved, which they will, because neighbors in San Francisco call the city about construction noise.
- Opening windows to dry things out in the Outer Sunset in July. San Francisco fog is 100 percent humidity. You’re blowing wet air into a wet house.
- Throwing away damaged materials before the adjuster sees them. That waterlogged carpet pad is evidence. Keeping it in the garage until it’s released protects your claim.
- Signing a work authorization from a company that knocked on your door before the adjuster arrived. Read the scope line. Ask for a written price before any work starts. If they won’t provide one, call us instead.
When to Call a Professional
Call a professional restoration company when water has touched porous materials and you can’t confirm dryness with a moisture meter within 48 hours. Call when the water is anything other than clean (toilet overflow, washing machine discharge, any exterior flood water). Call when the damage covers more than 50 square feet or extends into walls, floors, or ceilings. Call when you file an insurance claim and want documentation that supports it. Call when anyone in the home has respiratory issues or a compromised immune system. Tidemark Water Damage San Francisco offers free estimates in San Francisco, always with a written price before any work starts. Call (831) 400-3496 and a live person answers, 24 hours a day.
Frequently Asked Questions
Professional water damage restoration in San Francisco typically costs between $1,800 and $3,500 for a Class 2 job (the most common type), while Class 1 jobs run $600 to $1,200 and Class 3 or 4 jobs can range from $5,000 to $15,000 or more depending on the extent of the damage. Call (831) 400-3496 for a written estimate specific to your situation, which includes the exact scope of work before anything starts.
Most San Francisco homeowners policies cover sudden and accidental water damage from burst pipes, appliance failures, and weather events, but almost none cover gradual leaks, seepage, or flooding from exterior sources without a separate flood policy. Your policy also requires you to mitigate the damage promptly and reasonably, and failing to do so can reduce or void coverage for secondary damage.
A professional restoration company should be able to reach your San Francisco home within one to two hours of your call, since water damage does not pause for traffic or business hours. Tidemark Water Damage San Francisco answers the phone 24/7 with a live person and dispatches the same day for water emergencies.
You can dry minor Class 1 water damage yourself if the affected area is under about 50 square feet, the water was clean, and you verify dryness with a moisture meter within 48 hours. Anything beyond that, involving carpets, drywall, or wall cavities, requires commercial drying equipment and moisture monitoring to prevent mold and protect your insurance claim.
Mold can begin growing within 24 to 48 hours of water exposure in San Francisco’s humid climate, especially inside wall cavities and under carpet where air doesn’t circulate. That 48-hour window is why prompt drying matters more than the amount of water involved.
San Francisco requires permits for any water damage repair involving plumbing, electrical wiring, structural framing, or fire-rated assemblies in attached buildings. Cosmetic drywall replacement and flooring that doesn’t affect structural systems typically does not require a permit, but consulting the Department of Building Inspection before starting is the safe approach.
The Bottom Line
DIY water damage restoration works for small, clean, contained incidents that you can dry and verify within 48 hours. Everything else involves crossing one of three lines: the insurance claim line, where inadequate DIY mitigation voids your coverage; the permit line, where California law requires licensed work; and the mold line, where DIY demolition spreads contamination instead of containing it. San Francisco’s climate, housing stock, and construction costs make the stakes higher than they look. Know which side of the line you’re on before you start. When you’re not sure, call us. We’ll tell you honestly, with a written price before anything starts.
Written by Rick Sumner, Owner at Tidemark Water Damage San Francisco, serving San Francisco since 2006.
See the difference
 Before
 After
After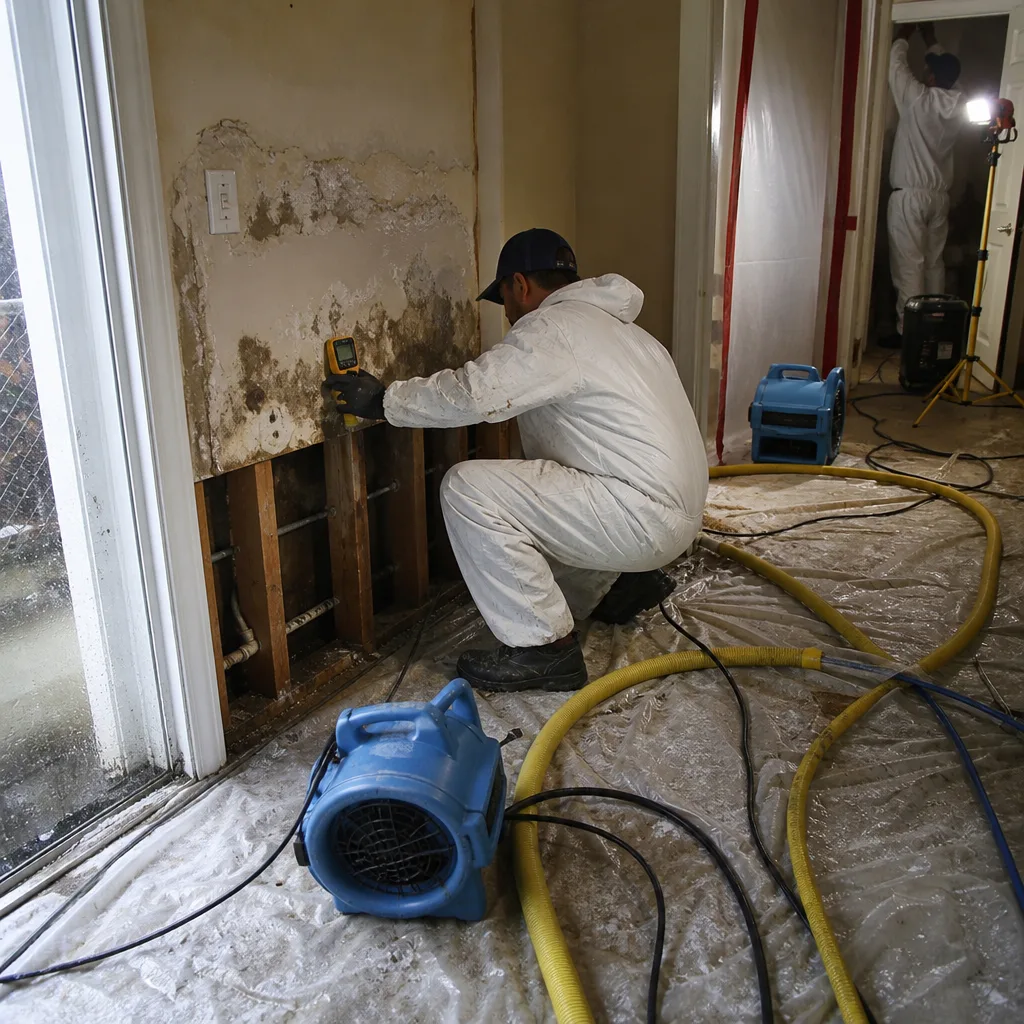 Before
 After
After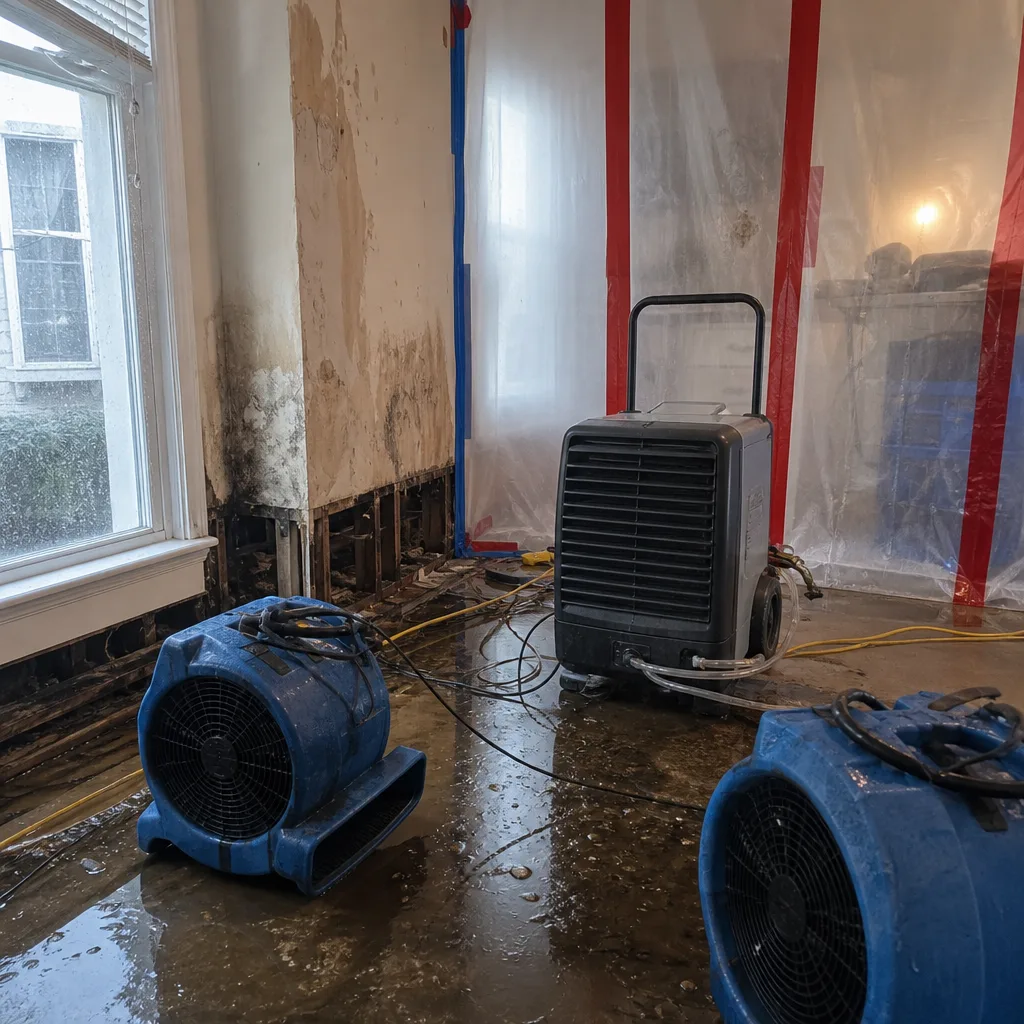 Before
 After
After